Follow Me On Social Media!
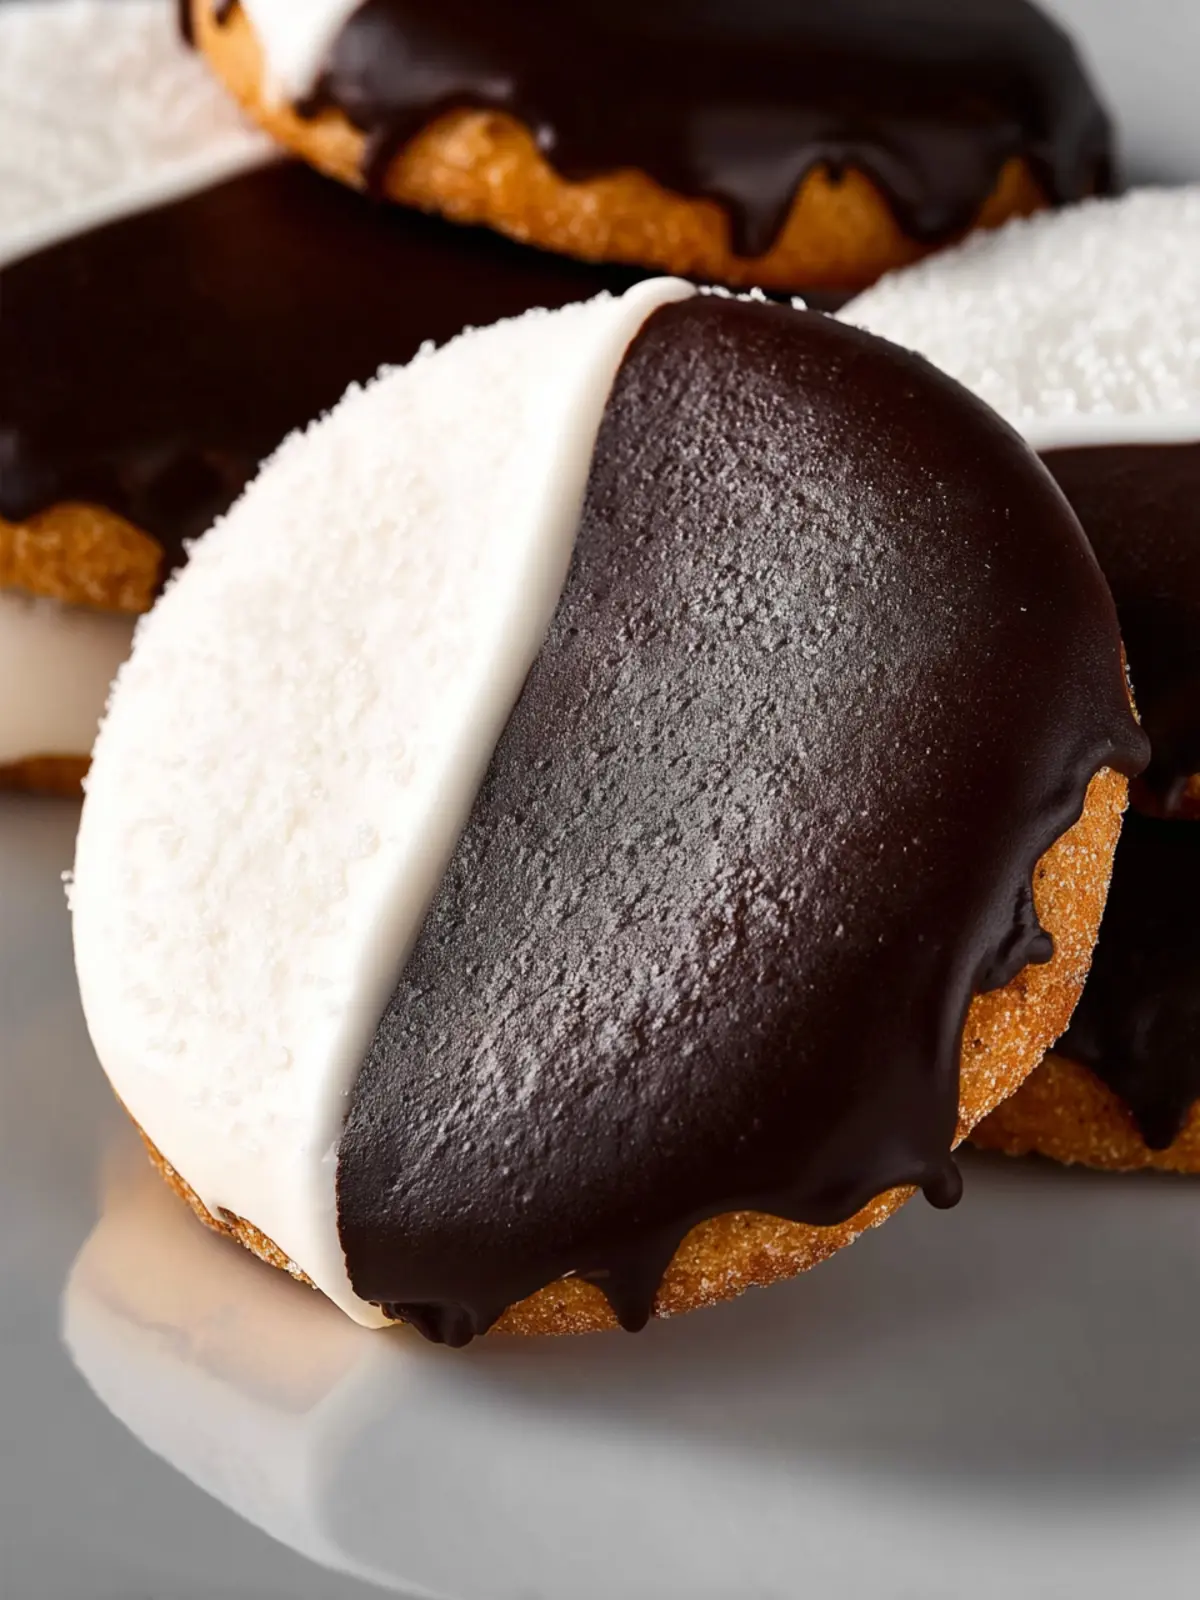
Half Moon Cookies: The Best Homemade Black & White Delights

Introduction to Half Moon Cookies (Black & White Cookies)
There’s something uniquely joyful about biting into a Half Moon Cookie—a delightful treat that whimsically combines two classic flavors into one irresistible dessert. Originating from the Northeast of the United States, these cookies have garnered a devoted following, and for good reason. Picture this: a soft, cake-like cookie topped with luscious chocolate and sweet vanilla fondant, each half beckoning you to take another bite. They are perfect for sharing during gatherings or enjoying on a quiet afternoon with a cup of coffee.
The appeal of Half Moon Cookies goes beyond their mouthwatering taste; it’s the nostalgia they evoke. Many of us have fond memories of visiting bakeries where freshly baked cookies lined the shelves, enticing us with their glossy icing. Each bite is a blend of textures and flavors—the tender cookie base contrasts beautifully with the rich, glossy icing on top. Whether you prefer the chocolate side or the vanilla, there’s a little bit of magic in every bite.
You may find yourself wondering how to recreate this delightful treat in your own kitchen. Thankfully, making Half Moon Cookies at home is easier than you might think. With a straightforward list of ingredients and simple instructions, you’ll be on your way to impressing friends and family with your baking prowess. Plus, nothing beats the sense of accomplishment that comes from whipping up a batch of these classic cookies.
As we dive deeper into the recipe, you will discover the essential ingredients required to achieve the perfect cookie texture and flavor balance. From the cake-like base to the icing that brings it all together, every detail matters. So, let’s roll up our sleeves and get ready to bake some unforgettable Half Moon Cookies that are sure to delight your taste buds!
What makes Half Moon Cookies a delightful treat?
- Balanced Flavors: The combination of chocolate and vanilla produces a symphony of flavors.
- Unique Texture: The cake-like consistency offers a delightful contrast to the smooth icing.
- Nostalgic Appeal: These cookies bring back delightful memories of bakery visits and family gatherings.
In the next section, we will uncover the essential ingredients for crafting these beloved cookies.
Key Ingredients for Half Moon Cookies
Half Moon Cookies are a delightful treat that blend the magic of two distinct flavors in one bite. As you prepare to bake these charming cookies, let’s dive into the essential ingredients that make them so special.
Flour: All-purpose flour is the backbone of these cookies. It provides the structure, ensuring they hold their shape beautifully. I prefer using unbleached flour, as it contributes a richer flavor to the cookie base.
Butter: Unsalted butter, softened to room temperature, enriches the dough with a creamy texture and deep flavor. The butter just melts in your mouth, making every bite a blissful experience.
Sugar: Granulated sugar sweetens the cookies while contributing to a tender crumb. Don’t skimp on this, as it’s essential for the right balance of sweetness.
Eggs: At room temperature, these add moisture and help bind the ingredients together, resulting in a delightful texture. The eggs act like a glue, bringing everything together seamlessly.
Sour Cream: This ingredient enhances the cookies’ softness and adds a subtle tanginess. It’s that secret touch that keeps the cookies tender for days.
Cocoa Powder: Used in the icing for the chocolate half of the cookie, cocoa powder brings a rich chocolate flavor that perfectly complements the vanilla. It adds just the right amount of decadence to these iconic treats.
With these key ingredients on hand, you’re well on your way to creating irresistible Half Moon Cookies!
Why You’ll Love Half Moon Cookies
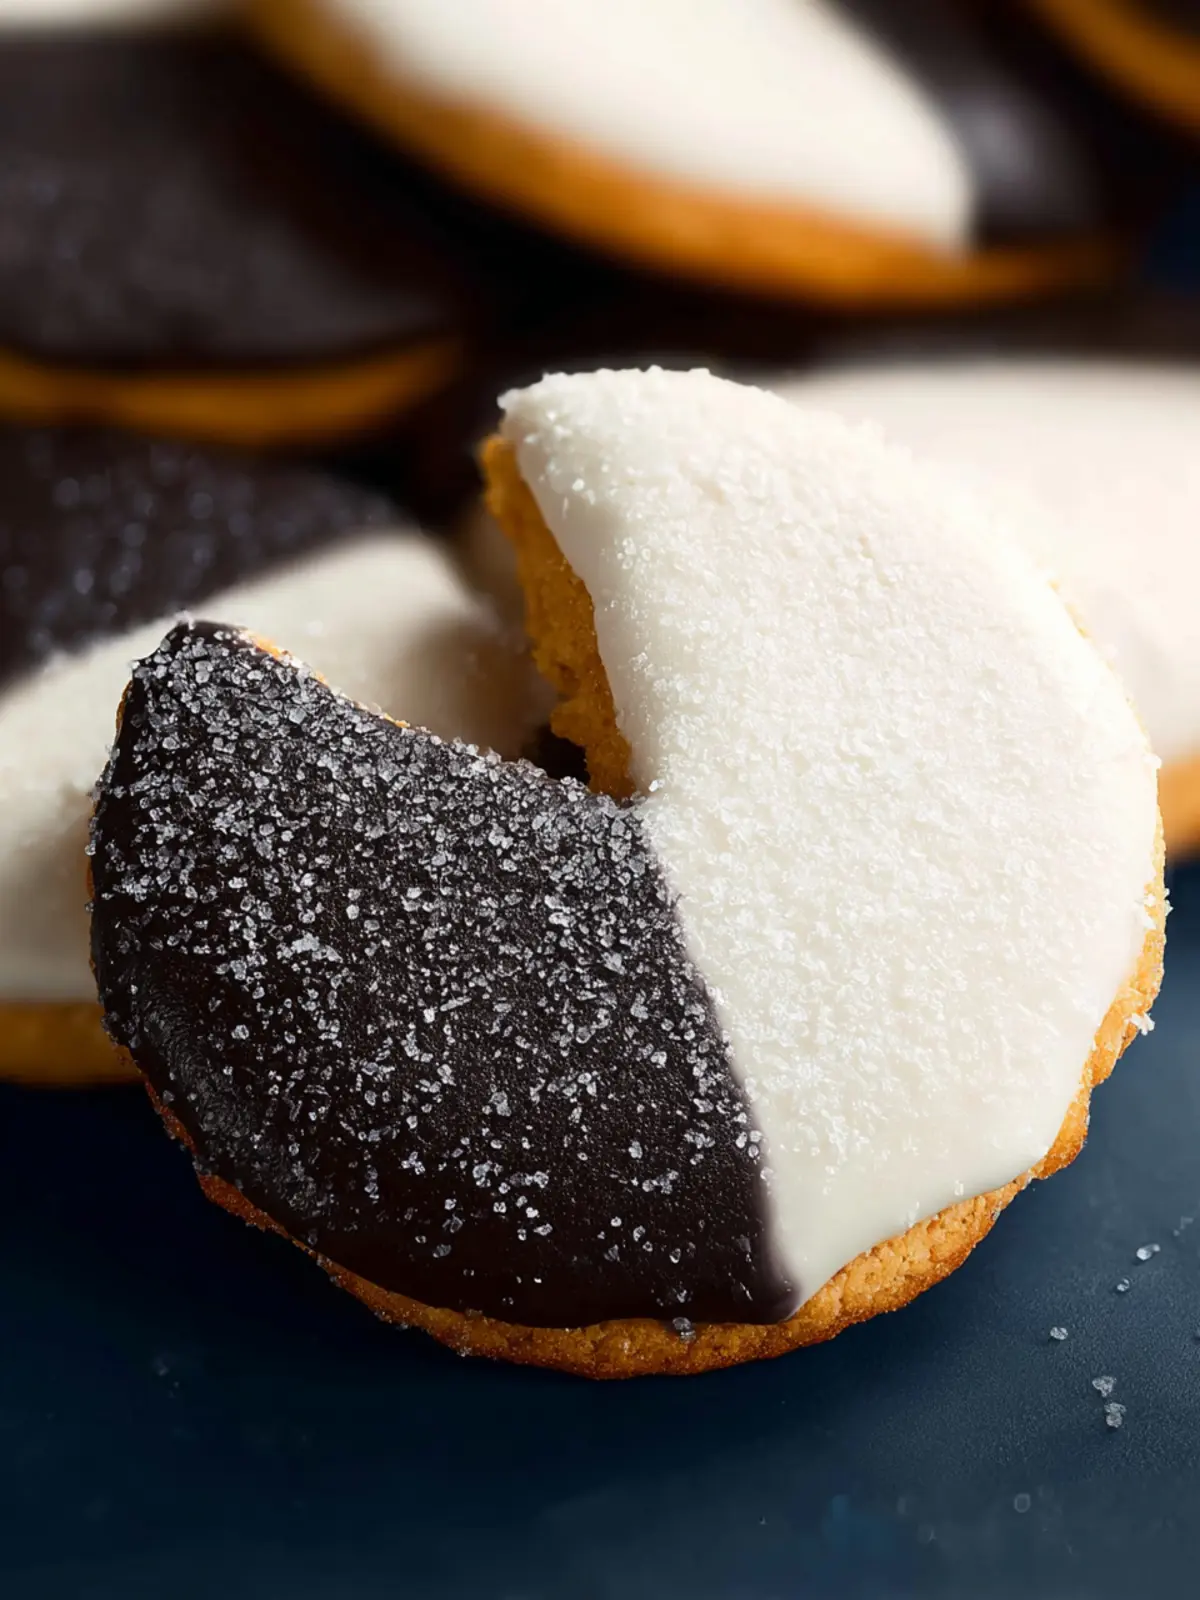
Half Moon Cookies are more than just a treat; they’re a delightful fusion of flavors and textures that capture the hearts of cookie lovers everywhere. Imagine biting into a soft, cake-like cookie with its half-glazed chocolate and half-velvety vanilla frosting, perfectly balanced to give you the best of both worlds.
Here’s why you’ll adore these cookies:
-
Nostalgic Charm: For many, Half Moon Cookies evoke sweet memories of childhood bake sales and cozy bakeries. They’re not just food but a comforting piece of nostalgia that takes you back.
-
Perfect for Any Occasion: Whether you’re hosting a gathering or simply indulging in a late-night snack, Half Moon Cookies fit the bill. Their unique look makes them an impressive dessert for parties, yet they’re simple enough to whip up on a whim.
-
Endless Customization: The beauty of Half Moon Cookies lies in their versatility. Feel free to mix things up with different flavors and toppings. Why not experiment with flavored glazes or even add sprinkles for a festive touch?
As you create these delightful cookies, prepare to fall in love with their textures, flavors, and the joy they bring to your table!

Tips for Making Perfect Half Moon Cookies
Crafting Half Moon Cookies isn’t just about following a recipe; it’s about creating a delightful experience that fills your kitchen with warmth and joy. Here are some handy tips to elevate your cookie game and ensure every batch is a delightful marriage of flavors.
Choose the Right Ingredients
- Flour: Opt for high-quality all-purpose flour. It provides the right structure. I often use unbleached flour for a more robust flavor.
- Butter: Use unsalted butter for better control over the cookie’s sweetness. Make sure it’s at room temperature for smooth incorporation.
- Sugar: Granulated sugar adds sweetness, while brown sugar contributes moistness. A mix of both is ideal for a chewy texture.
- Eggs: Fresh eggs are key. They help bind everything and create a rich texture. Use room temperature eggs to improve emulsification.
Master the Dough
- Chill the Dough: After mixing, let the dough rest in the fridge for at least 30 minutes. This adds to the texture and helps prevent spreading during baking.
- Even Sizing: Use a cookie scoop for uniformity. Consistent sizes ensure even baking, so you aren’t left with some cookies overdone while others are undercooked.
Frosting Like a Pro
- Let Cookies Cool: Ensure the cookies are completely cooled before frosting. This prevents the chocolate icing from melting and running off.
- Timing is Everything: Frost one side with chocolate and the other with vanilla icing for that classic Half Moon look.
By following these simple yet effective tips, your Half Moon Cookies will surely impress friends and family—after all, the joy of baking lies in sharing delicious treats!
Time Details for Half Moon Cookies
Baking Half Moon Cookies is a delightful experience that infuses your kitchen with the warm aromas of vanilla and chocolate. To help you plan your baking journey, here are the essential time details you’ll need.
Preparation Time
The preparation process takes about 15-20 minutes. This includes gathering your ingredients and preparing your dough.
Baking Time
Once your cookies are shaped, they will bake for approximately 12-15 minutes. Keep an eye on them to achieve that perfect golden edge.
Total Time
In total, you should expect to spend around 30-35 minutes from start to finish. This includes preparation and baking time, making it a quick yet satisfying treat to enjoy!

Nutritional Information for Half Moon Cookies
Understanding the nutritional information for Half Moon Cookies can help you enjoy these delightful treats with mindfulness. Here is a breakdown of what you can expect:
Calories
Each cookie has about 200 calories, making it a sweet indulgence without going overboard. If you’re treating yourself, this is an accessible way to enjoy something special while keeping your energy levels in check.
Protein
With 2 grams of protein per cookie, these Half Moon Cookies aren’t a significant source of protein but can be part of a balanced snack when paired with something hearty like a glass of milk or a handful of nuts.
Sodium
Each cookie contains around 150 mg of sodium. This is fairly moderate, so enjoy them as an occasional treat without much concern for your daily sodium goals.
Enjoy your baking and treat yourself to these delicious Half Moon Cookies!
FAQs about Half Moon Cookies
Making Half Moon Cookies can feel a bit intimidating at first, but once you get into the groove, you’ll find it’s an incredibly enjoyable process. As you embark on this delightful baking journey, you may have a few questions, and I’m here to help with some common queries!
What’s the secret to a thick cookie?
Achieving that coveted thick and chewy texture in your Half Moon Cookies comes down to two key factors: the right ratio of ingredients and chilling the dough. A higher ratio of flour to butter will help with thickness, but make sure you also refrigerate the dough for at least 30 minutes before baking. This simple step firms up the fat in your dough, preventing the cookies from spreading too much while they bake.
Can I freeze Half Moon Cookies?
Absolutely! Freezing your Half Moon Cookies is a fantastic way to enjoy them later. Simply let the cookies cool completely, then place them in an airtight container or freezer bag. For best results, separate layers with parchment paper to avoid sticking. They can be frozen for up to three months—just thaw them at room temperature for a few hours before enjoying.
How can I customize my cookie flavors?
Getting creative with flavors is part of the fun! You can easily personalize your Half Moon Cookies by adding ingredients like:
- Cocoa Powder: For a richer chocolate dough.
- Zest: A hint of lemon or orange zest can brighten the flavor.
- Spices: Cinnamon or nutmeg can add warmth to your cookies.
- Mix-ins: Try adding walnuts, chocolate chips, or dried fruits for extra texture.
Feel free to experiment—each batch can be a new adventure!
Conclusion on Half Moon Cookies
Crafting Half Moon Cookies is not just about mixing ingredients; it’s about creating a delightful experience that bridges the gap between rich chocolate and smooth vanilla flavors. As you savor each bite, you may find yourself transported back to delightful bakery visits or family gatherings. These cookies can easily be customized, whether you prefer a thicker frosting or more pronounced flavors. Plus, they are perfect for sharing—imagine surprising friends or coworkers with these treats! In the spirit of baking, remember that every cookie carries a little bit of love and tradition, making them truly special. Enjoy your baking journey!
Print
Chocolate Iced Cookies
- Total Time: 37 minutes
- Yield: 24 cookies 1x
- Diet: Vegetarian
Description
Deliciously soft cookies with a rich chocolate icing.
Ingredients
Scale
- 2 cups all purpose flour
- ½ teaspoon baking powder
- ¼ teaspoon baking soda
- ¼ teaspoon salt
- 1 ½ sticks unsalted butter (softened to room temperature)
- 1 cup granulated sugar
- 2 large eggs (at room temperature)
- 1 teaspoon pure vanilla extract
- ½ cup full-fat sour cream (at room temperature)
- 1 pound powdered sugar (measured and then sifted)
- 3 tablespoons whole milk (divided)
- 2 tablespoons corn syrup
- 1 teaspoon pure vanilla extract
- ¼ teaspoon salt
- 3 tablespoons cocoa powder
Instructions
- Preheat the oven to 350°F/180°C, and line 2 cookie sheets with parchment paper.
- In a large bowl, combine flour with baking powder, baking soda, and salt. Set aside.
- In a separate bowl, using a hand or a stand mixer fitted with a paddle attachment beat the butter with sugar until smooth and creamy (2-3 minutes).
- Add the eggs and vanilla, and beat again until well combined.
- Add the dry ingredients in batches alternating with sour cream, beat until combined scraping the sides of the bowl as needed. The cookie dough will be thick.
- Using a ¼ cup measuring cup or cookie scoop, drop cookies onto the prepared cookie sheet about 4 inches apart. Bake in the preheated oven for 15-17 minutes, or until the center of the cookie feels springy to the touch.
- Allow to cool on the cookie sheet for 5 minutes, then transfer to a wire rack to cool completely.
- To make the icing, in a bowl combine the powdered sugar with 2 tablespoons of milk, corn syrup, vanilla, and salt. Whisk until combined, and add more water if needed until you reach a spreadable consistency.
- Transfer half of the cookie icing to a separate bowl, and add the cocoa powder plus 1 tablespoon of milk. Whisk and add more milk/water to reach the desired consistency.
- Using a small offset spatula, ice the FLAT side of the cookie with a thin layer of icing (only half of the cookie), and chill in the fridge for 15 minutes. You want the icing to be set so it does not bleed into the chocolate icing once applied.
- Ice the other half of each cookie with chocolate icing, and allow it to set completely.
Notes
- Store cookies in an airtight container to maintain freshness.
- For a richer chocolate flavor, increase the amount of cocoa powder in the icing.
- Prep Time: 20 minutes
- Cook Time: 15-17 minutes
- Category: Desserts
- Method: Baking
- Cuisine: American
Nutrition
- Serving Size: 1 cookie
- Calories: 150
- Sugar: 10g
- Sodium: 120mg
- Fat: 7g
- Saturated Fat: 4g
- Unsaturated Fat: 2g
- Trans Fat: 0g
- Carbohydrates: 20g
- Fiber: 1g
- Protein: 2g
- Cholesterol: 30mg