Follow Me On Social Media!
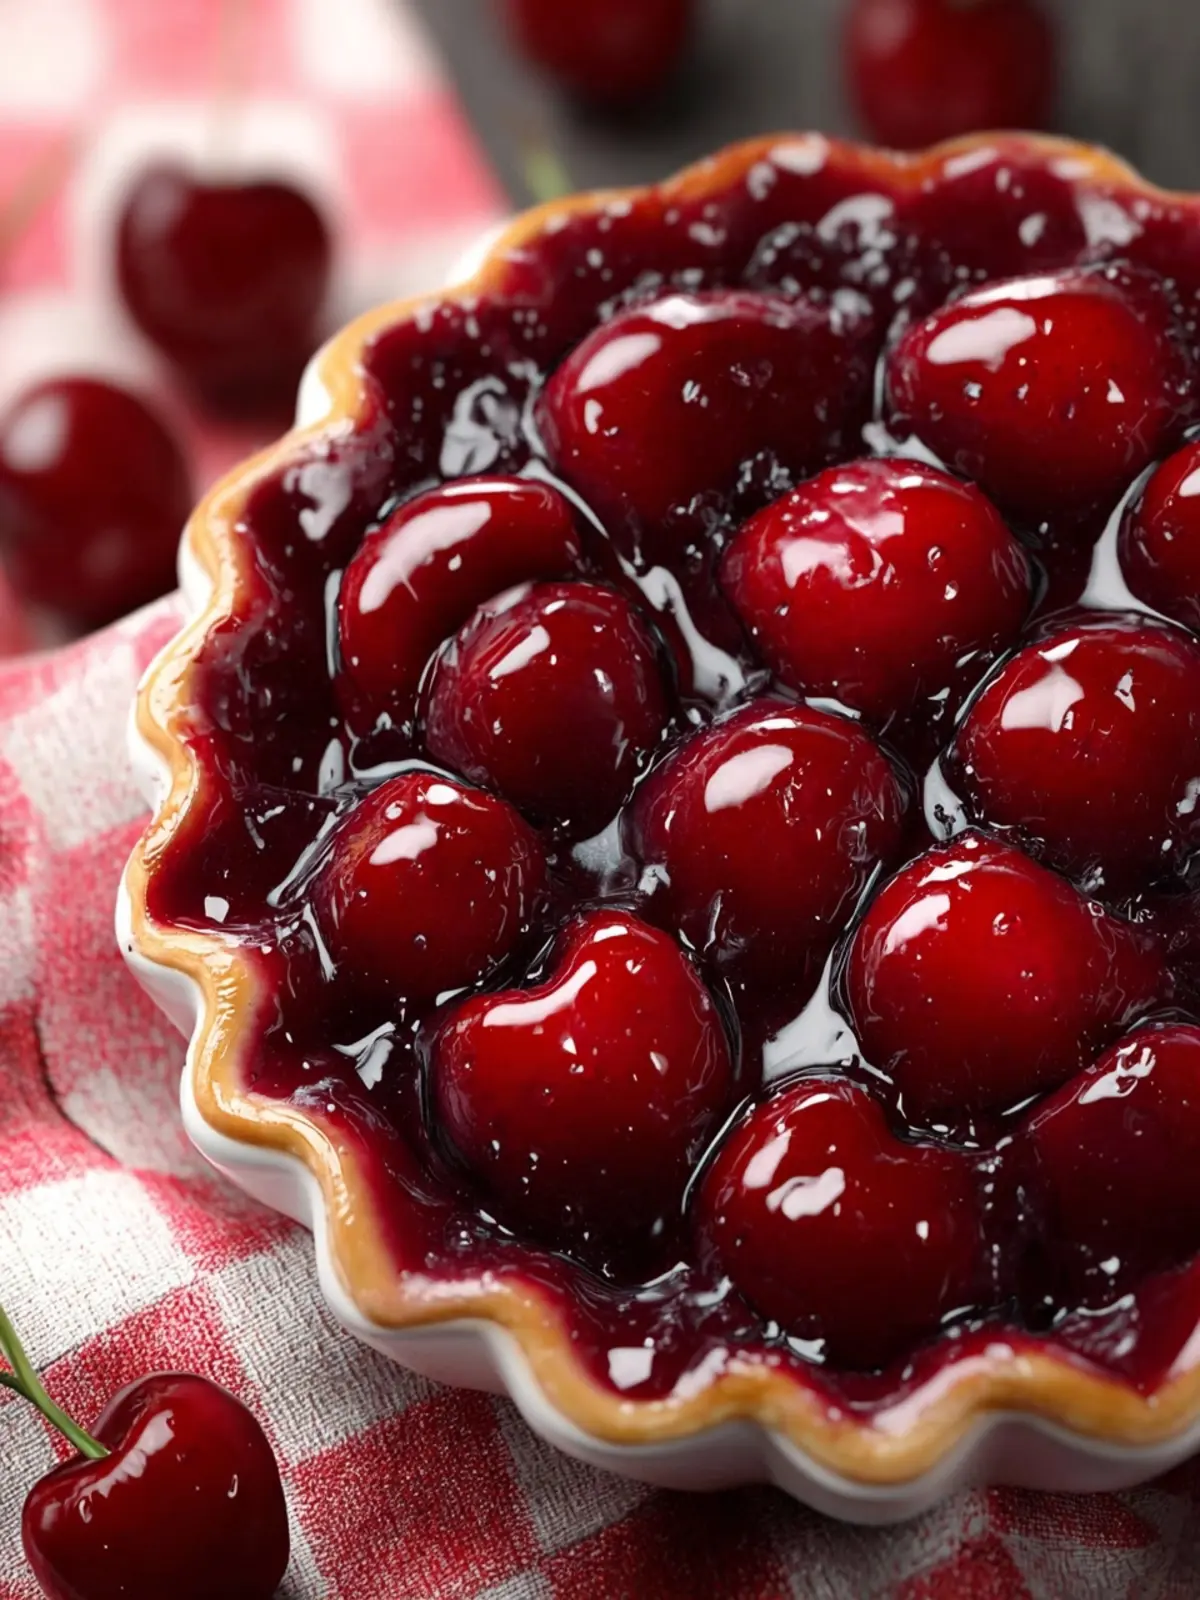
Homemade Cherry Pie Filling: Sweet, Juicy Bliss Awaits!

Introduction to Homemade Cherry Pie Filling
Imagine the aroma of sweet cherries bubbling in a pot on a sunny afternoon, filling your kitchen with nostalgia and warmth. That’s the magic of homemade cherry pie filling. Often associated with summer picnics and family gatherings, this delightful filling transcends mere dessert to evoke heartfelt memories of simpler times. Whether you’re looking to elevate your baking game or simply want to savor the taste of fresh cherries, making your own cherry pie filling is an experience that brings joy with every spoonful.
A Savory Journey Through Nostalgia: What Makes Cherry Pie Filling So Special?
The allure of homemade cherry pie filling lies not only in its taste but also in its rich history. Cherries have long been celebrated for their vibrant hue and rich flavor, making them a perfect centerpiece for pies. There’s something undeniably satisfying about preparing a classic dessert that has been enjoyed for generations. From the tartness of the cherries to the slight sweetness of sugar, each ingredient plays a harmonious role in crafting a delicious filling worthy of your cherished pie crust.
What’s more, making your own cherry pie filling allows for customization. You can adjust sweetness levels, experiment with spices like cinnamon or nutmeg, or even mix in other fruits to create a unique filling that suits your palate. This flexibility transforms a simple dessert into a reflection of your creativity. Additionally, knowing exactly what goes into your filling—be it the choice of fresh or frozen cherries—makes it a wholesome choice for your family.
A bit about the cherries themselves: they are typically harvested in late spring to early summer, which makes this the ideal time to pick up fresh cherries at your local market. If that’s not possible, don’t worry! Frozen cherries maintain their flavor and work beautifully for this recipe, too.
So grab your apron, and let’s dive into the delightful world of homemade cherry pie filling. You’ll not only create a delicious dessert but also embark on a sentimental journey filled with the cozy essence of home baking.
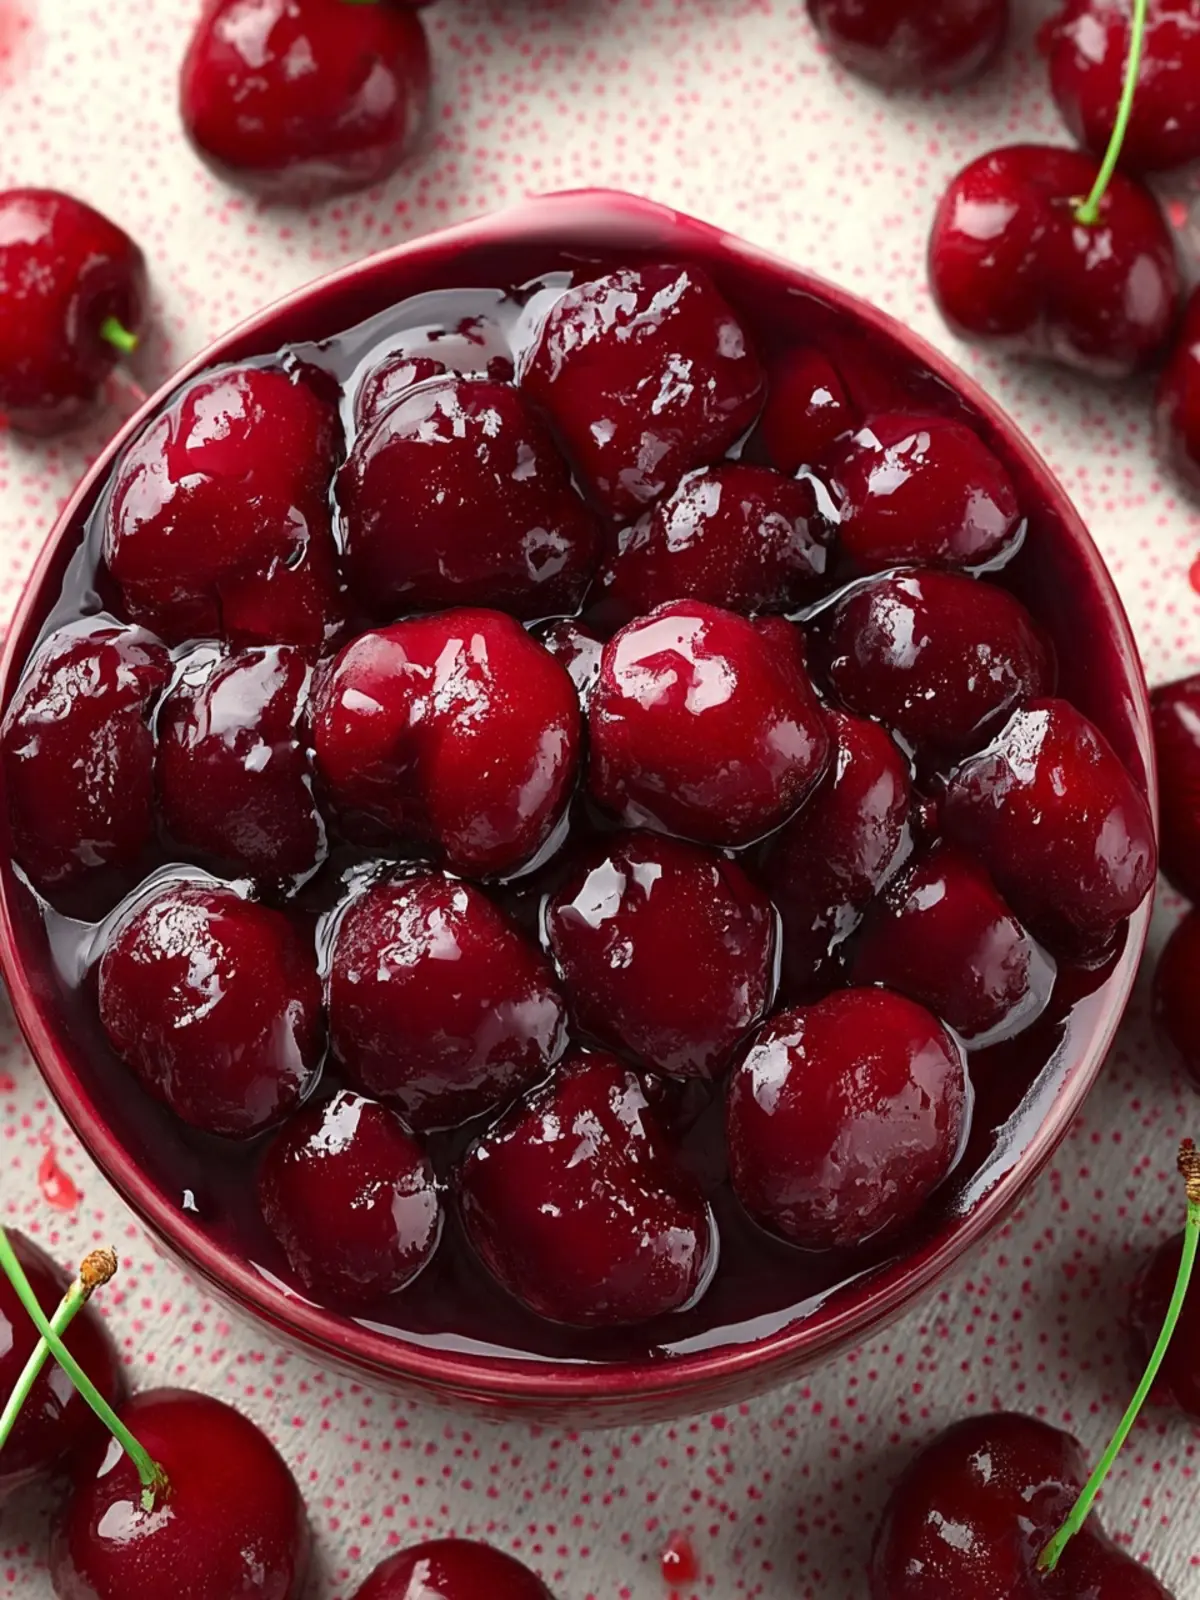
Key Ingredients for Homemade Cherry Pie Filling
Creating the quintessential homemade cherry pie filling is truly a labor of love, and each ingredient plays a vital role in crafting that perfect balance of flavors and textures.
Cherries: For the best flavor, I prefer using fresh, pitted cherries. They add a vibrant tartness that makes the filling mouthwatering. If fresh cherries aren’t in season, don’t worry; thawed frozen cherries can serve as an excellent substitute.
Sugar: Granulated sugar is essential for balancing the tartness of the cherries. It harmonizes the flavors perfectly, transforming the filling into a delightful sweet treat that pairs beautifully with a flaky crust.
Lemon Juice: Just a splash of lemon juice brightens the filling, enhancing the overall flavor profile of the pie. It adds a touch of zest without overpowering the taste of the cherries.
Cornstarch: This thickener is crucial for achieving the perfect consistency in your filling. It ensures that your homemade cherry pie filling isn’t too runny and holds its shape beautifully when served.
Salt: A pinch of salt enhances the sweet and tart flavors of the cherries, making them pop in every bite and bringing out their natural goodness.
Cinnamon: While optional, a touch of cinnamon can add warmth and depth to the filling, taking the flavor to another level that you won’t want to miss!
Why You’ll Love This Recipe
There’s something truly magical about homemade cherry pie filling. Imagine walking into your kitchen on a sunny afternoon, the air filled with the sweet, tangy aroma of cherries simmering on the stove. This recipe not only captures that enchanting experience but also introduces you to a world of flavors that are hard to beat.
-
Fresh Ingredients: Using real, in-season cherries makes all the difference. They are sweeter and juicier, and the satisfaction of pitting them yourself adds to the rustic charm of this filling.
-
Simple Preparation: You don’t need to be a pastry chef to whip up this delightful filling. With just a handful of ingredients, the process is straightforward and dare I say, therapeutic. The gentle stirring as you watch the cherries break down is almost meditative.
-
Versatile Use: Once you master this homemade cherry pie filling, the possibilities are endless. It’s perfect not only for pies but also for topping pancakes, mixing into yogurt, or even as an ice cream sundae delight.
-
Save Money: Making your own cherry filling is not only delicious but can also save you money compared to store-bought options loaded with preservatives.
By the end of this recipe, you’ll not only have a jar of vibrant cherry goodness but also a little piece of summer preserved for those chilly winter months.
Variations on Cherry Pie Filling
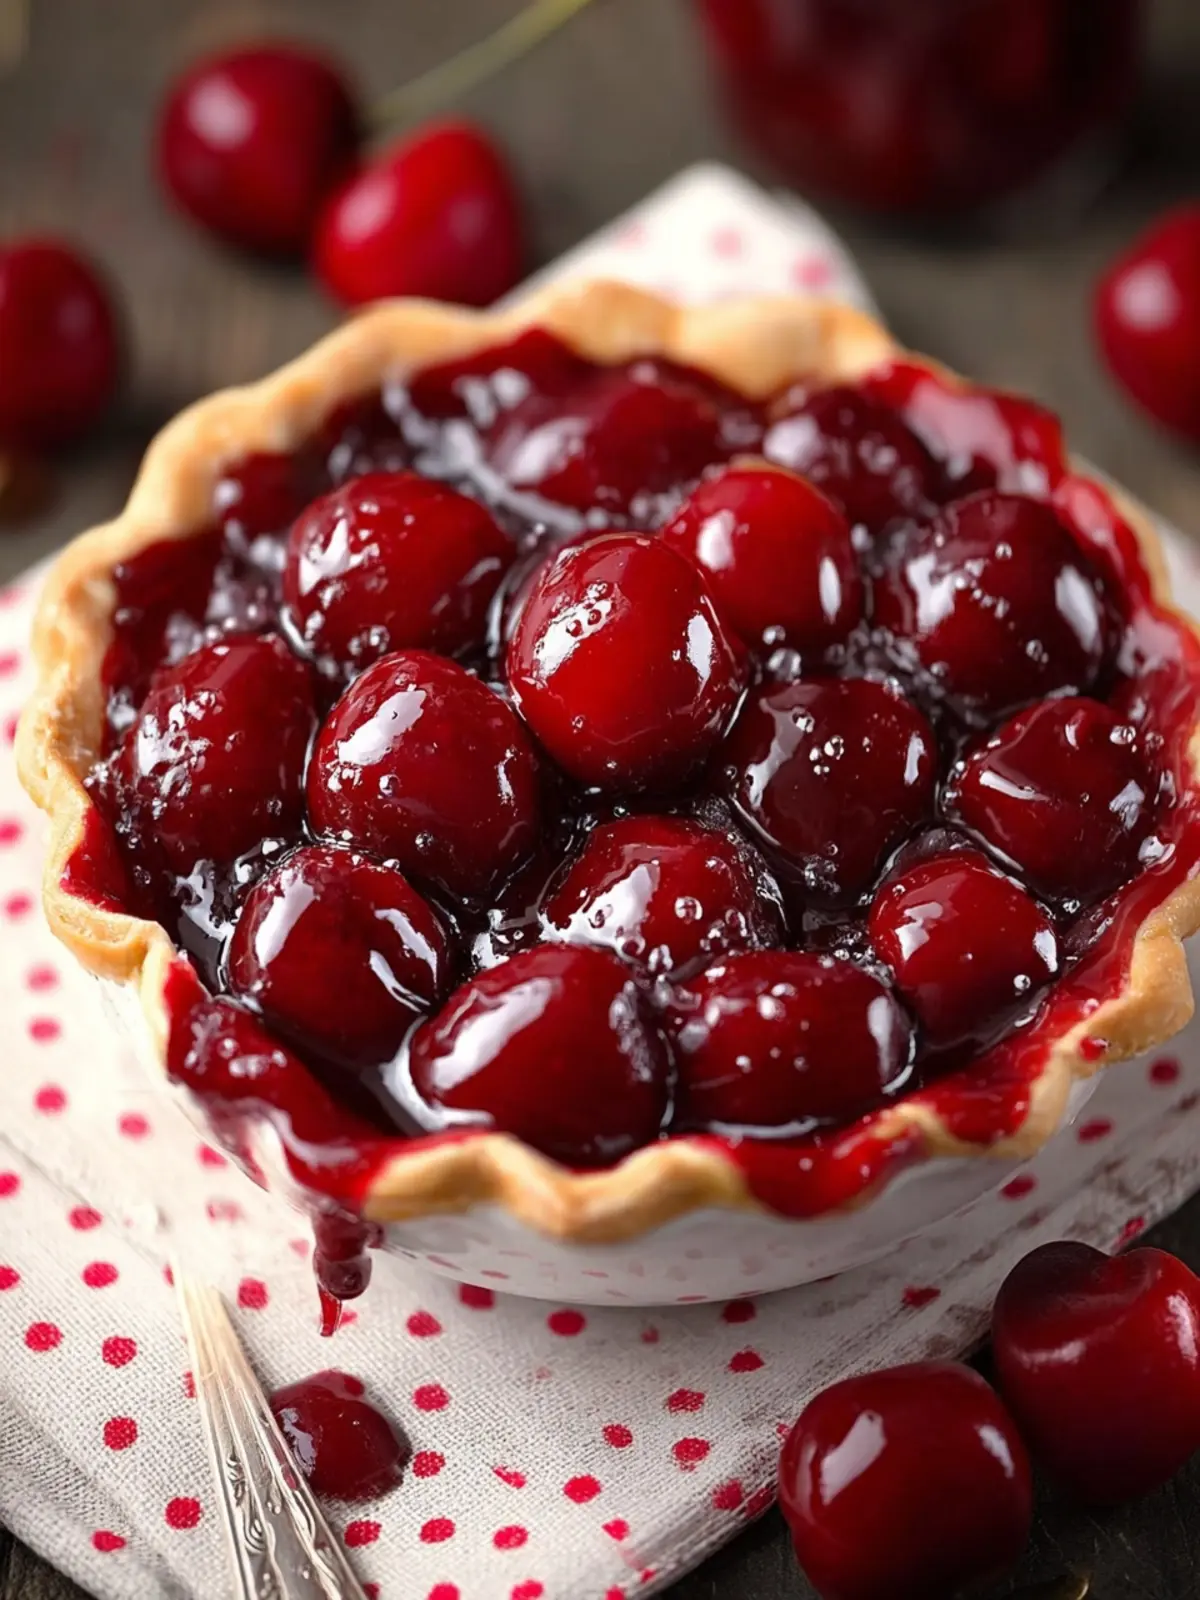
Exploring the world of homemade cherry pie filling opens the door to a myriad of delightful adaptations that can elevate this classic treat to new heights. Think beyond the traditional; let’s dive into some creative variations that cater to different tastes and occasions.
Sweet and Savory Blend
Ever thought about pairing cherries with a touch of richness? Adding a hint of balsamic vinegar can create a surprising depth of flavor. The tartness of the cherries meets the sweetness of vinegar, resulting in a unique and sophisticated filling.
Spiced Up Classics
Cinnamon is a must-try addition to your homemade cherry pie filling. Mix in a teaspoon of ground cinnamon for a warming spice that perfectly complements the natural sweetness of the cherries. You can even experiment with nutmeg or a dash of ginger for a lively twist.
Citrus Zing
Adding zest from an orange or lemon can brighten your filling remarkably. The acidity cuts through the sweetness while enhancing the cherry flavor, making each bite more refreshing.
Berry Fusion
Combine cherries with other berries, such as blueberries or raspberries, for a mixed berry pie filling. The blend not only enhances the color but brings a lovely complexity to the flavor profile that diversifies each serving.
Nuts and Crunch
Consider incorporating chopped almonds or pecans to add texture. The nutty flavors harmonize beautifully with the cherries, providing a delightful crunch that contrasts with the soft fruit.
With these variations, your homemade cherry pie filling can keep things exciting and tailored to any palate or occasion!
Cooking Tips and Notes for Perfect Cherry Pie Filling
Creating homemade cherry pie filling can feel like a delightful excursion into culinary magic. It’s a process that brings back memories of lazy summer days spent picking cherries with family. Here are some tips to ensure yours is just as delightful.
Choose the Right Cherries
Using fresh cherries is crucial for a vibrant and flavorful filling. Tart varieties like Montmorency work wonders, but sweet cherries can also shine when you adjust the sugar. If fresh cherries aren’t available, frozen ones can be a convenient option—just ensure they’re pitted and somewhat thawed before cooking.
Sweeten to Taste
Everyone’s taste is different, so it’s smart to adjust your sugar based on the cherries’ natural sweetness. Start with a moderate amount, then taste and tweak it. A splash of lemon juice can add brightness too!
Thickening Agents
Cornstarch is a popular choice for thickening your filling, providing a glossy finish. For a twist, consider tapioca flour for a slightly different texture. Remember, you’ll want to mix the starch with a bit of the cherry juice first to avoid clumps.
Simmer Gently
Once combined in the pan, allow the filling to simmer gently. This helps the flavors meld beautifully. Overheating can break down the fruit, so keep an eye on it.
Following these tips will lead you to a sumptuous homemade cherry pie filling that your friends and family will love. Perfect for any occasion!
Serving Suggestions for Your Cherry Pie
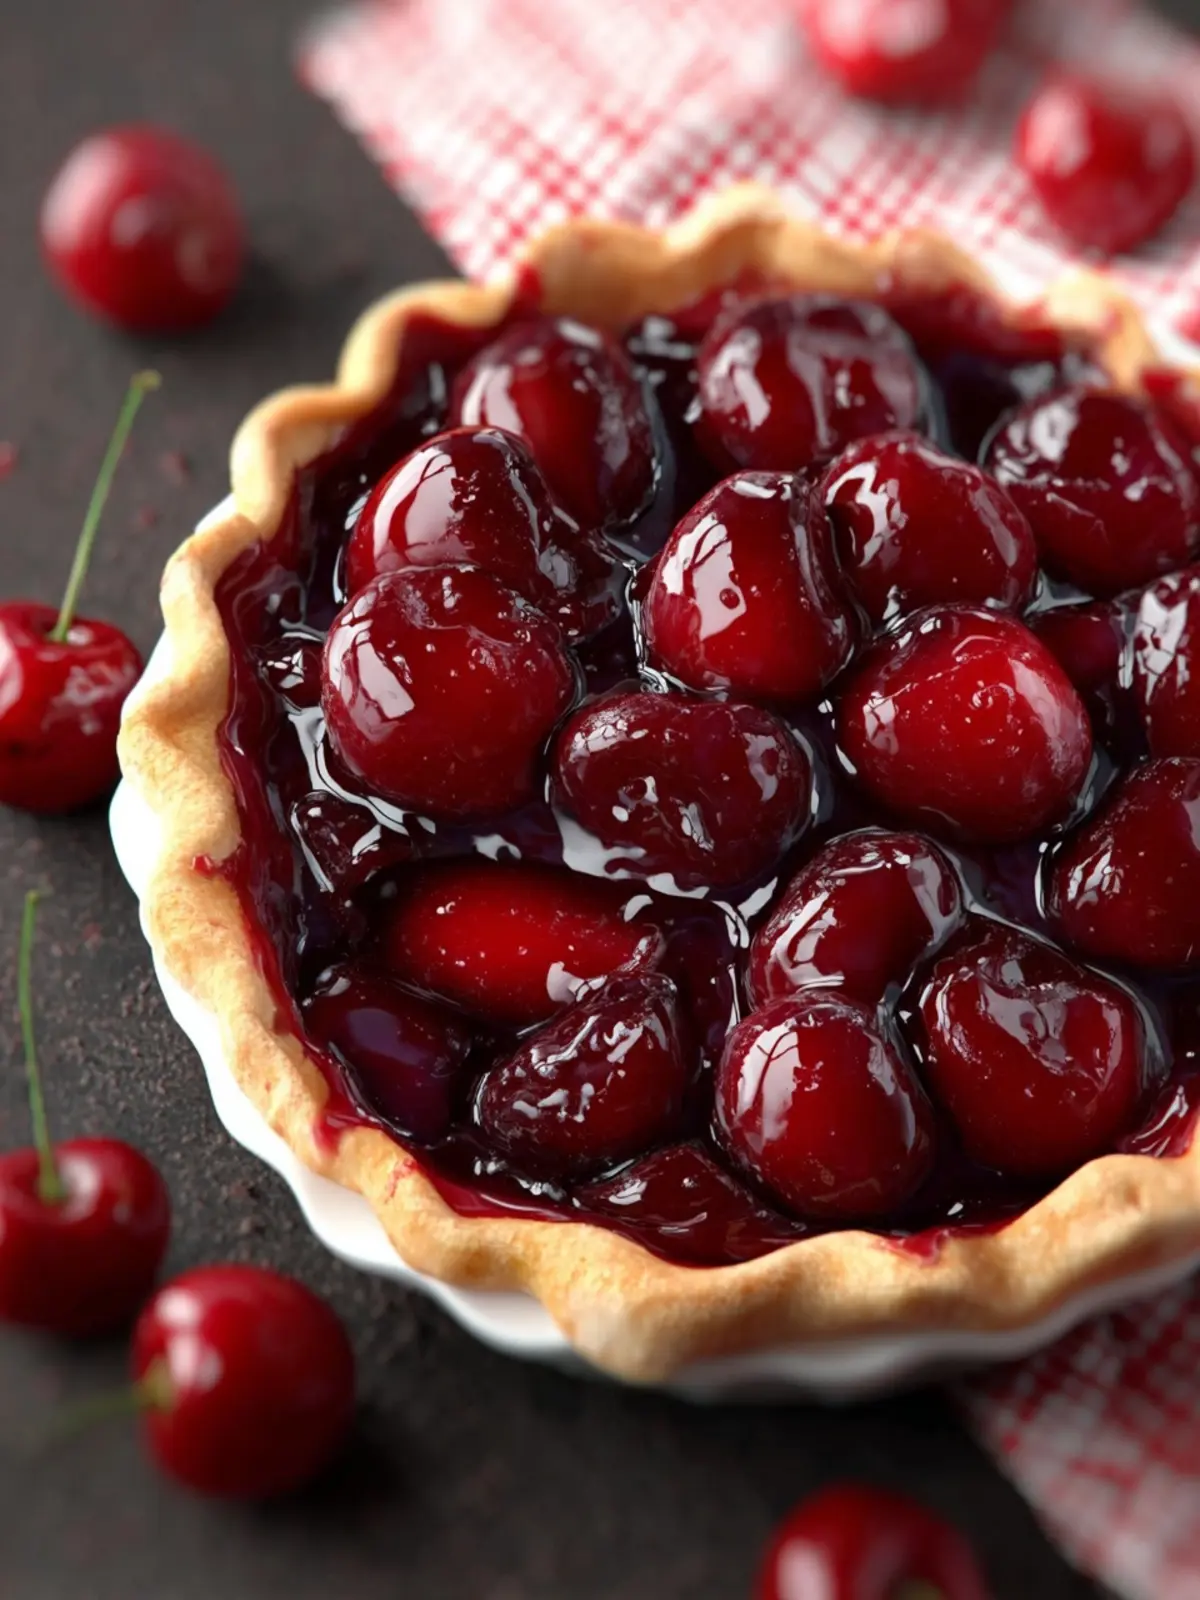
The moment you pull your homemade cherry pie out of the oven, the aroma fills your kitchen, bringing back memories of cozy family gatherings and summer picnics. To truly elevate that nostalgic flavor, consider these delightful serving suggestions that complement your homemade cherry pie filling perfectly.
A Generous Scoop of Ice Cream
Nothing beats a warm slice of cherry pie with a generous scoop of vanilla ice cream melting over the top. The sweet, creamy texture contrasts beautifully with the tartness of the cherries, creating a harmonious balance that will have everyone reaching for seconds.
Whipped Cream to the Rescue
If you’re a fan of texture, topping your cherry pie with freshly whipped cream will add an airy, light touch. A dollop of whipped cream offers a touch of sweetness and enhances the pie’s overall presentation, making it look as delightful as it tastes.
Pair with Coffee or Tea
For an elevated serving experience, consider pairing your slice of pie with a rich espresso or a soothing herbal tea. The deep, robust flavors of coffee complement the sweetness of the cherries, while tea provides a refreshing counterbalance.
For the Adventurous Palate
If you’re feeling adventurous, try adding a splash of amaretto or almond extract in the whipped cream or ice cream mix. This subtle almond flavor enhances the cherries and gives your homemade cherry pie an unexpected twist that impresses guests and elevates your dessert game.
Each of these suggestions highlights the vibrant flavors of your homemade cherry pie filling while creating a memorable experience that you and your guests will love. So, grab that slice and enjoy!
Time Breakdown for Making Cherry Pie Filling
Creating the perfect homemade cherry pie filling is a delightful journey, one that fills your kitchen with the sweet aroma of cherries and nostalgia. This recipe is quick and rewarding, making an ideal addition to your baking repertoire.
Preparation Time
Getting started is a breeze. You’ll need about 10 minutes to wash, pit, and chop the cherries, along with measuring out your other ingredients. This initial step sets the foundation for the delicious filling that follows.
Cooking Time
While your cherry mixture simmers on the stove, you will need approximately 15 minutes. This process thickens the filling and melds the flavors, ensuring each bite bursts with cherry goodness.
Total Time
In just 25 minutes, you can whip up your homemade cherry pie filling, making it a quick treat to accompany your pie crust. Each moment spent will be well worth the scrumptious results!
Nutritional Facts for Cherry Pie Filling
Creating your own homemade cherry pie filling not only tantalizes your taste buds but also lets you keep track of nutrition. Here’s a glimpse at what you’re whipping up when you blend cherries, sugar, and a dash of love.
Calories
A typical serving of cherry pie filling has around 120 calories. While it’s not light as a feather, the joy it brings at dessert time definitely makes it worth it!
Sugar
Cherries are naturally sweet, but in your homemade cherry pie filling recipe, you’ll likely add about 20-25 grams of sugar per serving. Balancing sweetness is key, especially if you prefer less sugar.
Dietary Fiber
One of the best parts? Cherry pie filling contains about 1-2 grams of dietary fiber. This is great for digestion and adds a hint of nutritional value to your indulgence. Enjoy every spoonful knowing it contributes to your day!
FAQs About Homemade Cherry Pie Filling
Creating your own homemade cherry pie filling can be an eye-opening experience, rich with flavors and a sense of achievement. If you’re diving into this delightful kitchen project, you might have a few questions to ensure everything goes smoothly. Let’s tackle some common inquiries you may have!
How do I make cherry pie filling thicker?
To achieve a beautifully thick homemade cherry pie filling, consider using cornstarch or tapioca as a thickening agent. Start with about 1-2 tablespoons of cornstarch mixed with a little water to form a slurry, and add it to your cherry mixture during cooking. If you prefer a natural method, letting the filling simmer longer can also help reduce liquid and create a more concentrated texture. Just remember to stir often to prevent sticking!
Can I use other fruits to create a different pie filling?
Absolutely! One of the best parts about making your own fillings is the flexibility it offers. You can substitute cherries with fruits like blueberries, peaches, or even mixed berries. Just ensure the fruit you choose has a similar moisture content to cherries so that your filling maintains the right consistency. Each fruit will bring its unique sweetness and flavor, letting you customize your pie to suit your tastes!
How long does homemade cherry pie filling last?
When stored properly, your homemade cherry pie filling can last in the refrigerator for about one week. For longer storage, consider freezing it in airtight containers, where it can keep for up to six months. Just make sure to let it cool completely before freezing, and label your containers with the date to keep track of freshness. Enjoy your sweet creation anytime you crave a slice of pie!
Conclusion on Homemade Cherry Pie Filling
Creating your own homemade cherry pie filling is not merely an excellent culinary endeavor; it’s an opportunity to evoke nostalgia and delight. Whether you’re using it in a classic pie or drizzling it over ice cream, this vibrant filling brings a burst of flavor to any dessert. With just a handful of ingredients and some straightforward techniques, you can produce a filling that rivals anything from the bakery. The satisfaction of savoring this homemade treasure, knowing you crafted it yourself, is truly unparalleled. So, gather your cherries, and embrace the joy of creating this delightful dish; your tastebuds will thank you!
Print
Cherry Pie
- Total Time: 1 hour 10 minutes
- Yield: 8 servings 1x
- Diet: Vegetarian
Description
A delicious cherry pie made with fresh or frozen cherries.
Ingredients
Scale
- 4 cups pitted cherries (if frozen, thaw)
- 1 cup granulated sugar
- 2 tablespoons lemon juice
- 1/4 cup cornstarch
- 1 pinch of salt
- 1/8 teaspoon cinnamon (optional)
- 2 prepared pie crusts (top and bottom)
- 1 tablespoon granulated sugar (optional)
Instructions
- In a saucepan over medium heat, add cherries, granulated sugar, lemon juice, cornstarch, a pinch of salt, and cinnamon. Stir to combine.
- If your cherries are not very juicy, you may want to add water (from a few tablespoons to 1/2 cup depending on your fruit) to thin the sauce.
- Bring to a simmer. Reduce heat to medium-low and cook for 8-10 minutes, or until mixture has thickened (If your mixture is sticking to the pan, turn the heat down to low and add a splash of water). Remove from heat and allow to cool slightly.
- Preheat oven to 375℉. Place prepared pie crust into an 8 or 9 inch pie pan. Fill with cherry pie filling, then place top pie crust over filling. Pinch the edges closed, then make a slit in the middle of the pie for steam to escape. Optionally, sprinkle with a tablespoon of granulated sugar before baking.
- Bake for 45-50 minutes, then remove from oven to cool.
Notes
- For best results, use ripe cherries.
- Let the pie cool before slicing to ensure that the filling sets properly.
- Prep Time: 20 minutes
- Cook Time: 50 minutes
- Category: Dessert
- Method: Baking
- Cuisine: American
Nutrition
- Serving Size: 1 slice
- Calories: 300
- Sugar: 15g
- Sodium: 150mg
- Fat: 10g
- Saturated Fat: 2g
- Unsaturated Fat: 6g
- Trans Fat: 0g
- Carbohydrates: 45g
- Fiber: 2g
- Protein: 3g
- Cholesterol: 10mg