Follow Me On Social Media!

Olive Garden Breadsticks: The Best Homemade Twist Ever

Introduction to Olive Garden Breadsticks
There’s something magical about the aroma of freshly baked Olive Garden breadsticks wafting through the air, isn’t there? Picture this: you walk into a bustling Italian restaurant, your stomach growling in anticipation, and the first thing that hits you is the warm, buttery scent of breadsticks baking in the oven. These iconic treats are more than just a side; they’re an experience, a small but significant part of Italian dining culture, designed to make you feel welcome and cozy.
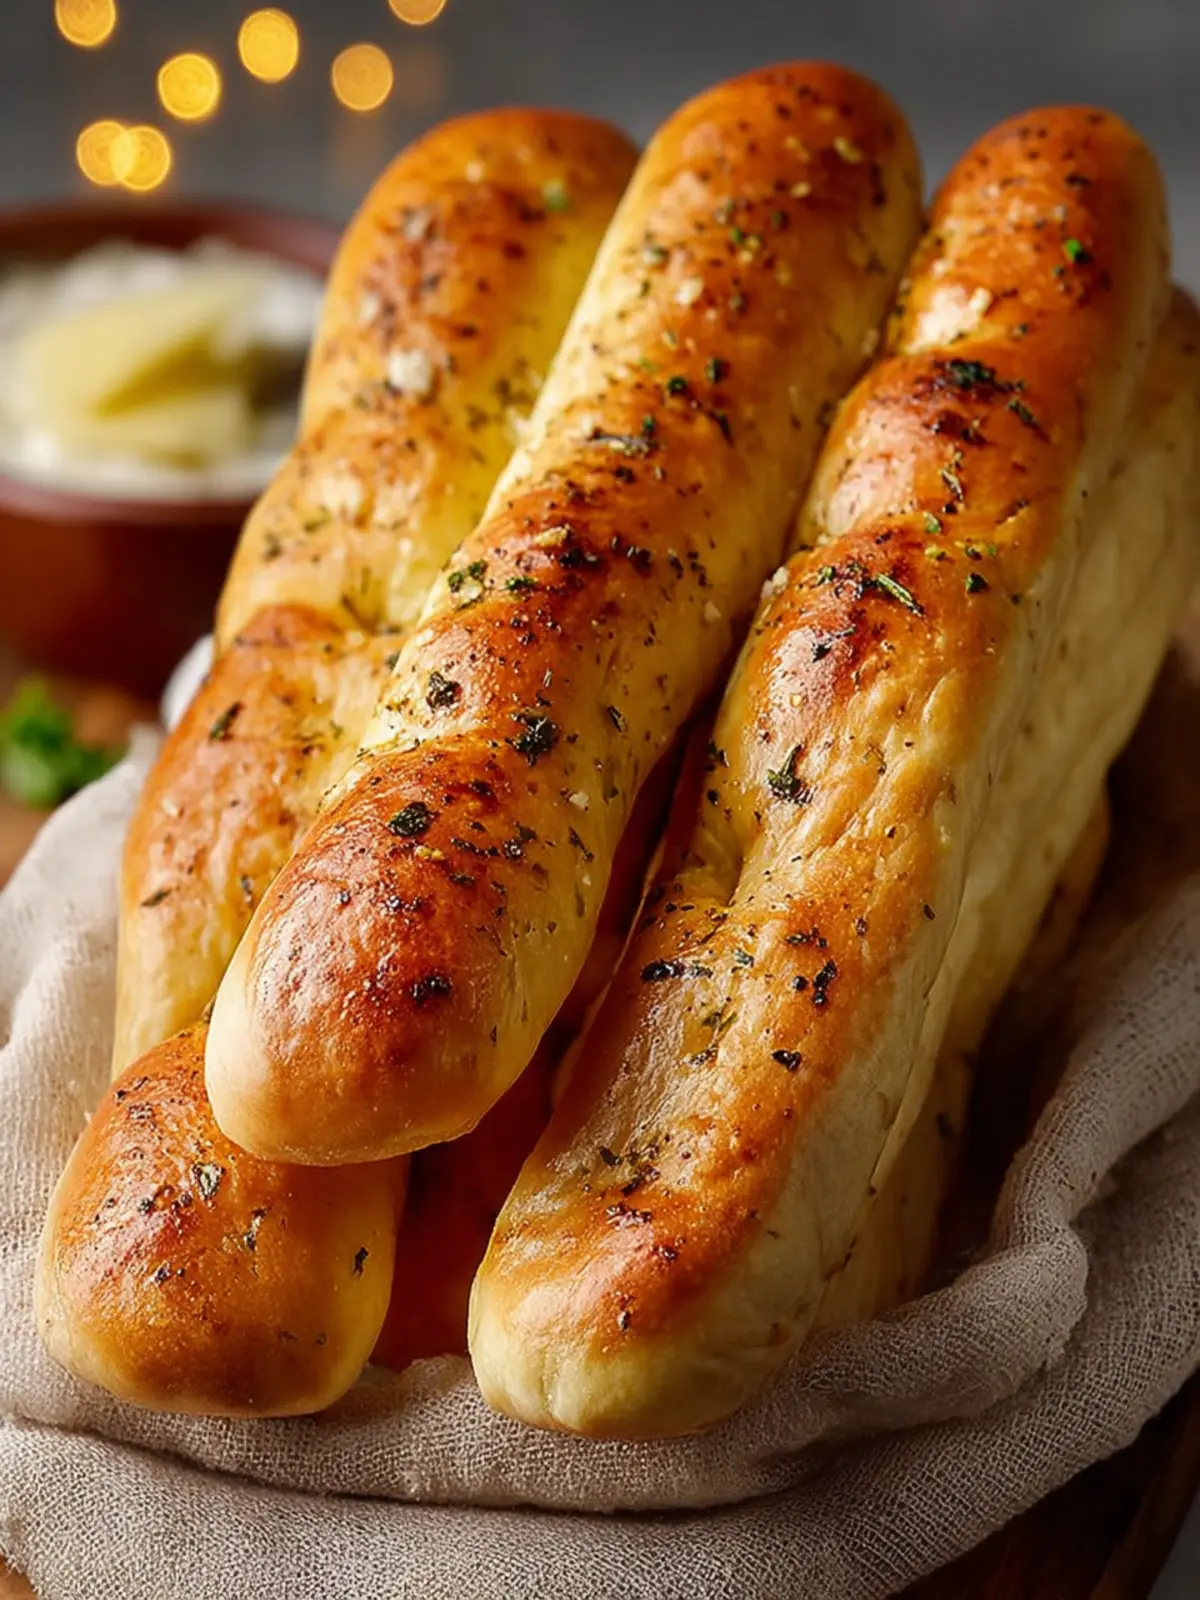
Olive Garden breadsticks have become a staple for many who crave that authentic touch of Italy. With their soft and pillowy texture, lightly dusted with garlic and butter, they’re irresistible right from the oven. But why are these breadsticks so beloved? It all boils down to a few essential elements: warmth, flavor, and the irresistible urge to reach for just one more before the main course arrives.
The allure of freshly baked breadsticks is not just about their taste; it’s about the memories they evoke. Whether you’re indulging in a casual dinner with friends or a celebratory family gathering, these little sticks of goodness have a knack for bringing people together. They serve as both an appetizer and a conversation starter, sparking joy and laughter while you dunk them into rich Alfredo sauce or sip your favorite red wine.
The Allure of Freshly Baked Breadsticks
-
Texture and Fluffiness: What makes these Olive Garden breadsticks so special is their signature softness. You wouldn’t want them to be dense; they should yield perfectly to your bite, practically melting in your mouth. The lightness is achieved through the right balance of flour and yeast, making every bite an airy delight.
-
Flavor Boosters: The garlic and butter toppings elevate these breadsticks from ordinary to extraordinary. As they’re brushed with melted butter infused with garlic and a hint of salt, the flavor profile becomes an instant classic that pairs wonderfully with pastas and salads alike.
-
Serve with Style: They’re versatile, too! Serve them warm with marinara or use them to scoop up delicious sauces. Imagine hosting a dinner party where your guests might just rave about your homemade breadsticks as much as the main course!
Getting to know Olive Garden breadsticks isn’t just about the recipe; it’s about understanding their place in a joyful dining experience. So, let’s dive into the ingredients that make these breadsticks a true Italian treasure!

Key Ingredients for Olive Garden Breadsticks
Creating homemade Olive Garden breadsticks begins with some essential ingredients that come together to form that irresistible soft, fluffy texture we all love. Here’s a closer look at each component.
-
Warm Water: The starting point for activating yeast, warm water creates the right environment for the yeast to thrive, resulting in a soft and pliable dough. Aim for a comfortable temperature—think cozy bathwater!
-
Active Dry Yeast: This ingredient is crucial for achieving the light, airy quality of the breadsticks. When combined with warm water, it works its magic by causing the dough to rise beautifully.
-
Sugar: Sugar is a little powerhouse in this recipe; it not only awakens the yeast but also introduces a hint of sweetness that perfectly balances the savory elements.
-
Bread Flour: Made from hard wheat, bread flour is higher in protein than all-purpose flour, leading to a delightful chewy texture. This is what sets your Olive Garden breadsticks apart from other bread.
-
Salt: A flavor enhancer and yeast controller, salt is vital for seasoning the dough while keeping the yeast fermentation process in check, helping the breadsticks rise appropriately.
-
Unsalted Butter: Richness is key! Incorporating unsalted butter into the dough gives your breadsticks a flavor boost and a tender crumb, making every bite feel luxurious.
-
Olive Oil: Using olive oil keeps the dough tender and provides the perfect greasing for the bowl, ensuring nothing sticks as you knead and rise.
-
Garlic Powder: For that signature savory kick, garlic powder is a must! It creates that irresistible aroma that will have everyone flocking to your kitchen.
-
Dried Parsley: Finally, a sprinkle of dried parsley adds a hint of freshness and a touch of color to the buttery topping, making your Olive Garden breadsticks appear just as appealing as they taste.
With these ingredients in hand, you’re well on your way to whipping up a batch of delicious breadsticks that rival the beloved ones from Olive Garden!
Why You’ll Love This Recipe
Homemade goodness at its finest
High-quality, Olive Garden breadsticks are the epitome of comfort food, bringing the warm embrace of homemade flavors right into your kitchen. When you make these breadsticks from scratch, you’ll find they’re not only soft and fluffy but also imbued with a delightful garlic buttery goodness. It’s that heavenly aroma wafting through your home that makes everyone feel cozy and loved.
Perfect for any occasion
These versatile breadsticks fit seamlessly into any meal. Whether you’re hosting a casual dinner, preparing for game day, or just wanting to elevate a weeknight takeout, these breadsticks are the perfect addition. They’re a surefire way to please a crowd, and trust me, you’ll want to keep the breadbasket full!
Customizable flavors and dipping options
One of my favorite parts about making Olive Garden breadsticks is how easily they can be tailored to your taste. Feeling adventurous? Add in herbs like rosemary or oregano for a twist. And don’t forget the dipping; from classic marinara to a rich alfredo sauce, the possibilities are endless. Personalizing them means every batch can be a new experience, making them not only delicious but also fun to create!
Cooking Tips and Notes
Making the perfect Olive Garden breadsticks is a rewarding endeavor that calls for careful attention to detail. Here are some handy tips to elevate your baking game.
Mastering the kneading process
Kneading is where the magic happens! Aim for a duration of about 5-7 minutes. You want to develop the gluten without overworking the dough. A crucial tip? Keep your workspace lightly floured to prevent sticking, but avoid adding too much flour, which can dry out the dough.
Achieving the right dough texture
Your dough should be soft and elastic. If it’s too sticky, a sprinkle of flour can help, but remember, the goal is to create a dough that holds its shape without being overly dry. As you knead, it should become smooth and slightly tacky, giving you a satisfying feel.
Best practices for proofing
Proofing is essential for achieving that fluffy texture in your Olive Garden breadsticks. Keep your dough in a warm, draft-free place. A great trick is to turn off your oven and place the bowl inside with the light on—this creates a cozy environment for your dough to rise. Aim for it to double in size, which usually takes about an hour.
With these tips in mind, you’ll be well on your way to baking breadsticks that rival the iconic ones from Olive Garden. Happy cooking!
Serving Suggestions
When you whip up a batch of Olive Garden Breadsticks, you’re inviting warmth and comfort to your table. The moment those buttery, garlicky aromas waft through your kitchen, you know you’re in for something special. But how can you elevate this already delicious experience? Here are some serving suggestions that’ll make your breadsticks the star of the meal!
Pairing with Soups and Salads
Imagine sinking a warm, fluffy breadstick into a rich bowl of minestrone soup or enjoying it alongside a fresh Caesar salad. The soft texture of the breadsticks perfectly complements the crunch of salads or the heartiness of soups, making each bite a delightful experience.
Creative Dips to Enhance Flavor
Why not take your Olive Garden Breadsticks to the next level with flavorful dips? Consider:
- Garlic Butter: A classic choice that adds an extra layer of richness.
- Marinara Sauce: Perfect for a tangy twist that transports these breadsticks straight to Italy.
- Spinach Artichoke Dip: This creamy dip pairs beautifully, creating a luscious mouthfeel with each bite.
Great Options for Dinners and Gatherings
Whether you’re hosting a casual get-together or a cozy family dinner, Olive Garden Breadsticks are a hit! They make a fantastic appetizer before a pasta dish or can stand their ground as a side for roasted meats. Stack them in a basket for a rustic touch or serve them on a platter with assorted dips, and watch them disappear!

Time Breakdown for Olive Garden Breadsticks
Making those irresistible Olive Garden breadsticks at home is an adventure filled with aromas and textures that will delight your senses. To help you plan your kitchen escapade, here’s a breakdown of the essential time commitment involved.
Preparation time
Start by gathering ingredients and mixing your dough, which will take about 15 minutes. This is the moment you can really get your hands in the dough and feel the magic begin!
Rising time
Let your dough rise for an hour. This is a crucial step that allows the yeast to work its wonders, making your breadsticks fluffy and airy.
Baking time
Once risen, pop them in the oven for just 12-15 minutes until they are golden brown. The aroma will be mouthwatering, and you’ll eagerly await your first bite.
Total time
In total, set aside about 1 hour and 30 minutes to create your delicious Olive Garden breadsticks. It’s worth every minute for that perfect taste of comfort!
Nutritional Facts for Olive Garden Breadsticks
When diving into the world of Olive Garden breadsticks, it’s easy to get lost in the tantalizing aroma and buttery flavor. But before you indulge, here’s a closer look at their nutritional profile to keep in mind.
Calories per serving
Each serving of these delightful Olive Garden breadsticks contains approximately 140 calories. While they are a delightful treat, keeping portion sizes in check is essential for maintaining a balanced diet.
Protein content
You’ll find that a single breadstick packs about 4 grams of protein. This isn’t a weightlifter’s dream, but it does contribute to your daily intake, especially when enjoyed alongside a hearty meal.
Sodium levels
It’s important to note that Olive Garden breadsticks have a sodium content of around 480 milligrams per serving. If you’re watching your sodium intake, consider enjoying them in moderation, perhaps as an occasional indulgence rather than a daily staple.
FAQs about Olive Garden Breadsticks
If you’ve ever sat down at Olive Garden, you know the excitement that comes with the arrival of those warm, buttery breadsticks. The aroma alone can make your mouth water. But let’s dive into some common queries people have about making their own version of these delightful treats.
What can I do if my yeast doesn’t foam?
It’s essential for your yeast to foam; this indicates that it’s active and ready to help your breadsticks rise. If it doesn’t foam, troubleshoot by checking the temperature of your water. It should be warm (about 110°F) but not hot, as excessive heat can kill the yeast. If your yeast is old or expired, that might be the issue, so always check the expiration date. Also, give it about five to ten minutes to foam before proceeding with your recipe, as it may take some time.
How do I store leftovers?
Storing leftover olive garden breadsticks is simple! Keep them in an airtight container at room temperature for up to two days. For longer storage, wrap them in foil or plastic wrap and place them in the freezer. Just remember to reheat them in the oven for a few minutes to revive that freshly baked taste.
Can I make these breadsticks gluten-free?
Absolutely! Replacing regular flour with a gluten-free all-purpose flour blend can work wonders for olive garden breadsticks. Be sure the blend contains xanthan gum; this will help mimic the elasticity of gluten. The texture may differ slightly, but they can still be soft, buttery, and delicious.
With these tips, you’ll be well on your way to mastering the art of Olive Garden breadsticks at home!
Conclusion on Olive Garden Breadsticks
Home-baked olive garden breadsticks are more than just a side dish; they are an experience that wraps you in warmth and comfort. The joy of pulling fresh, golden-brown breadsticks from the oven, the aroma filling your kitchen—it’s hard to resist that feeling!
I encourage you to give this recipe a try. The simple ingredients and straightforward steps make it accessible, even for beginner bakers. Plus, share your creations with friends and family—they’re sure to be impressed! Nothing beats the delight of homemade breadsticks enjoyed together at the table. Happy baking!
Print
Garlic Butter Breadsticks
- Total Time: 1 hr 46 mins
- Yield: 12 breadsticks 1x
- Diet: Vegetarian
Description
Delicious homemade garlic breadsticks brushed with garlic butter, perfect for any meal.
Ingredients
Scale
- 1 1/3 cups warm water (around 110°F)
- 2 1/4 teaspoons active dry yeast
- 2 tablespoons sugar
- 3 1/2 cups bread flour (plus more for dusting)
- 1 1/2 teaspoons salt
- 3 tablespoons unsalted butter
- 1 tablespoon olive oil (for greasing the bowl)
- 4 tablespoons unsalted butter (melted)
- 1/2 teaspoon garlic powder
- 1/4 teaspoon salt
- 1/4 teaspoon dried parsley (or 1 teaspoon fresh, finely chopped)
Instructions
- Combine warm water, 1 tablespoon sugar, and yeast in a large bowl. Stir gently and leave for 5–10 minutes until foamy. If no foam forms, start over with fresh yeast.
- Add remaining sugar, salt, and softened butter to the yeast mixture. Add bread flour one cup at a time, stirring between additions. Turn dough onto a lightly floured surface and knead for 8–10 minutes until smooth and slightly tacky. Alternatively, use a stand mixer with a dough hook on medium for 6–7 minutes.
- Place dough in a lightly oiled bowl, turn once to coat, and cover with plastic wrap. Leave in a warm spot for 1 to 1 hours until doubled in size.
- Punch dough down and divide into 12 equal pieces. Roll each into a log about 8 inches long. Place on parchment-lined baking sheets 2 inches apart. Cover loosely and rest for 30 minutes until slightly puffed.
- Preheat oven to 400°F. Bake for 14–16 minutes until pale golden on top. Do not overbake — breadsticks should stay soft, not turn dark or crusty.
- Mix melted butter with garlic powder, salt, and parsley. Brush generously over breadsticks immediately as they come out of the oven. Serve warm.
Notes
- Fresh yeast works best for the dough to rise.
- These breadsticks are best served warm.
- Prep Time: 30 mins
- Cook Time: 16 mins
- Category: Bread
- Method: Baking
- Cuisine: American
Nutrition
- Serving Size: 1 breadstick
- Calories: 150
- Sugar: 1g
- Sodium: 210mg
- Fat: 7g
- Saturated Fat: 4g
- Unsaturated Fat: 2g
- Trans Fat: 0g
- Carbohydrates: 20g
- Fiber: 1g
- Protein: 3g
- Cholesterol: 15mg