Follow Me On Social Media!

Salt Bread Shio Pan: Irresistibly Soft and Savory Treats

Introduction to Salt Bread Shio Pan
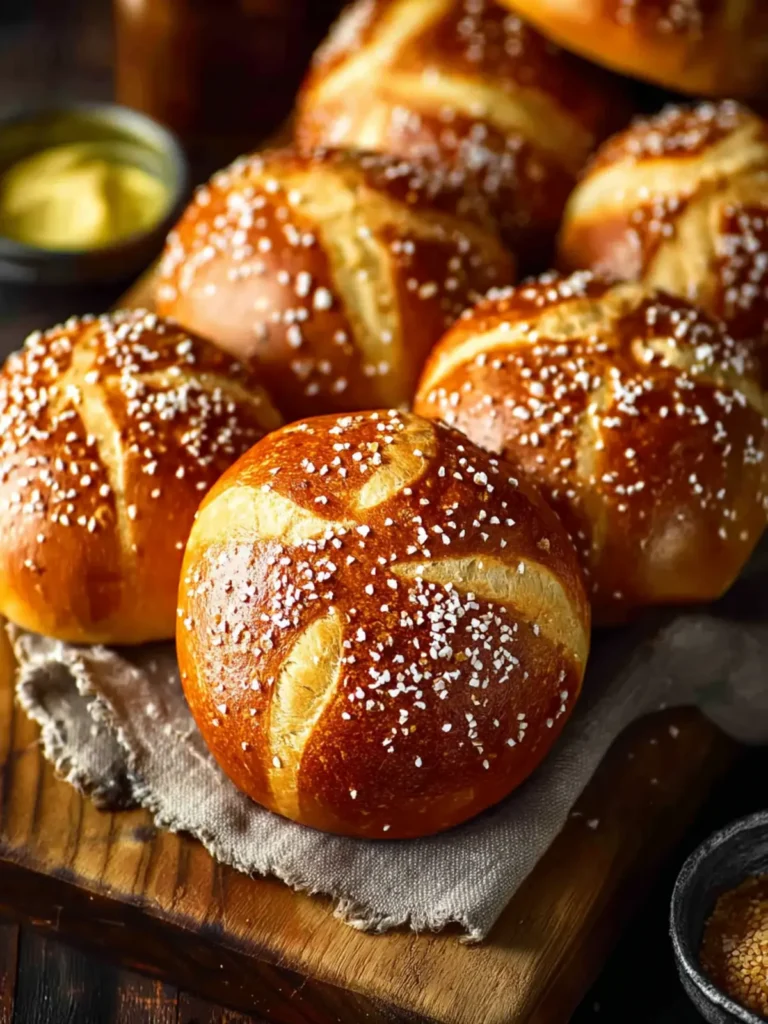
Imagine biting into a warm, fluffy piece of Salt Bread Shio Pan, where each mouthful is a delightful combination of soft bread and a hint of saltiness that dances on your taste buds. This Japanese pastry, celebrated for its unique flavor profile, has won hearts around the globe, making it a must-try for anyone who appreciates the artistry of baking.
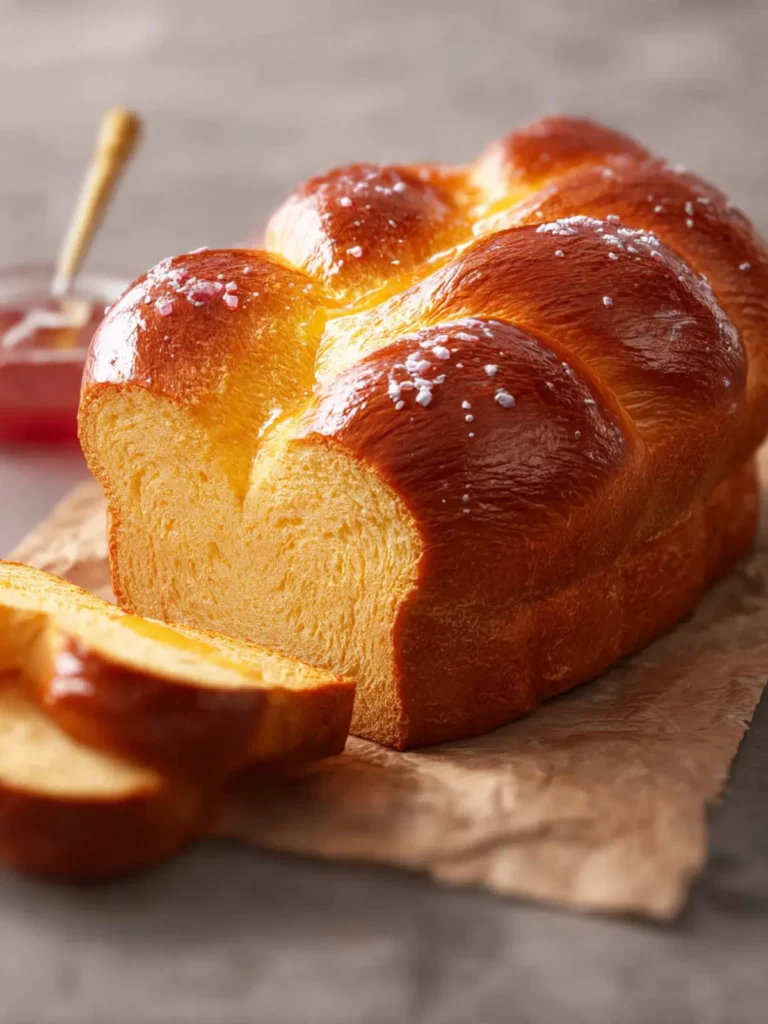
The essence of Salt Bread Shio Pan lies in its simplicity. This bread isn’t just about flavor; it’s about creating an experience. The golden crust, brushed with a touch of butter or olive oil, gives way to a pillowy interior that feels like a warm hug. With every bite, you’ll discover that the subtle saltiness enhances the overall flavor, making it reminiscent of a freshly baked loaf enjoyed with a side of good company.
What makes Salt Bread Shio Pan a must-try?
-
Flavor Dynamics: The balance of salt and sweetness in Salt Bread Shio Pan is what keeps people coming back. It manages to be both comforting and intriguing, making it an excellent companion for any meal or a perfect snack on its own.
-
Versatile Pairing: Whether you’re enjoying it alongside a bowl of soup, with a smear of your favorite jam, or simply on its own, this bread can enhance any culinary experience. How often do you find a bread that can seamlessly transition from sweet to savory?
-
Baking Bliss: For those who love to bake, this recipe is a joyous undertaking. The straightforward ingredients come together to create something truly delightful, allowing you to impress family and friends with your baking prowess. Plus, there’s something deeply satisfying about watching dough rise and transform into beautiful bread.
-
Cultural Connection: By making Salt Bread Shio Pan, you’re not just following a recipe; you’re embracing a piece of Japanese culture. Each loaf tells a story of the places and people that cherish it.
As you embark on this culinary adventure, prepare to fill your kitchen with the wonderful aroma of freshly baked bread. The journey of making Salt Bread Shio Pan is just as rewarding as the delicious result, inviting you not only to taste but to truly savor each moment.
Key Ingredients for Salt Bread Shio Pan
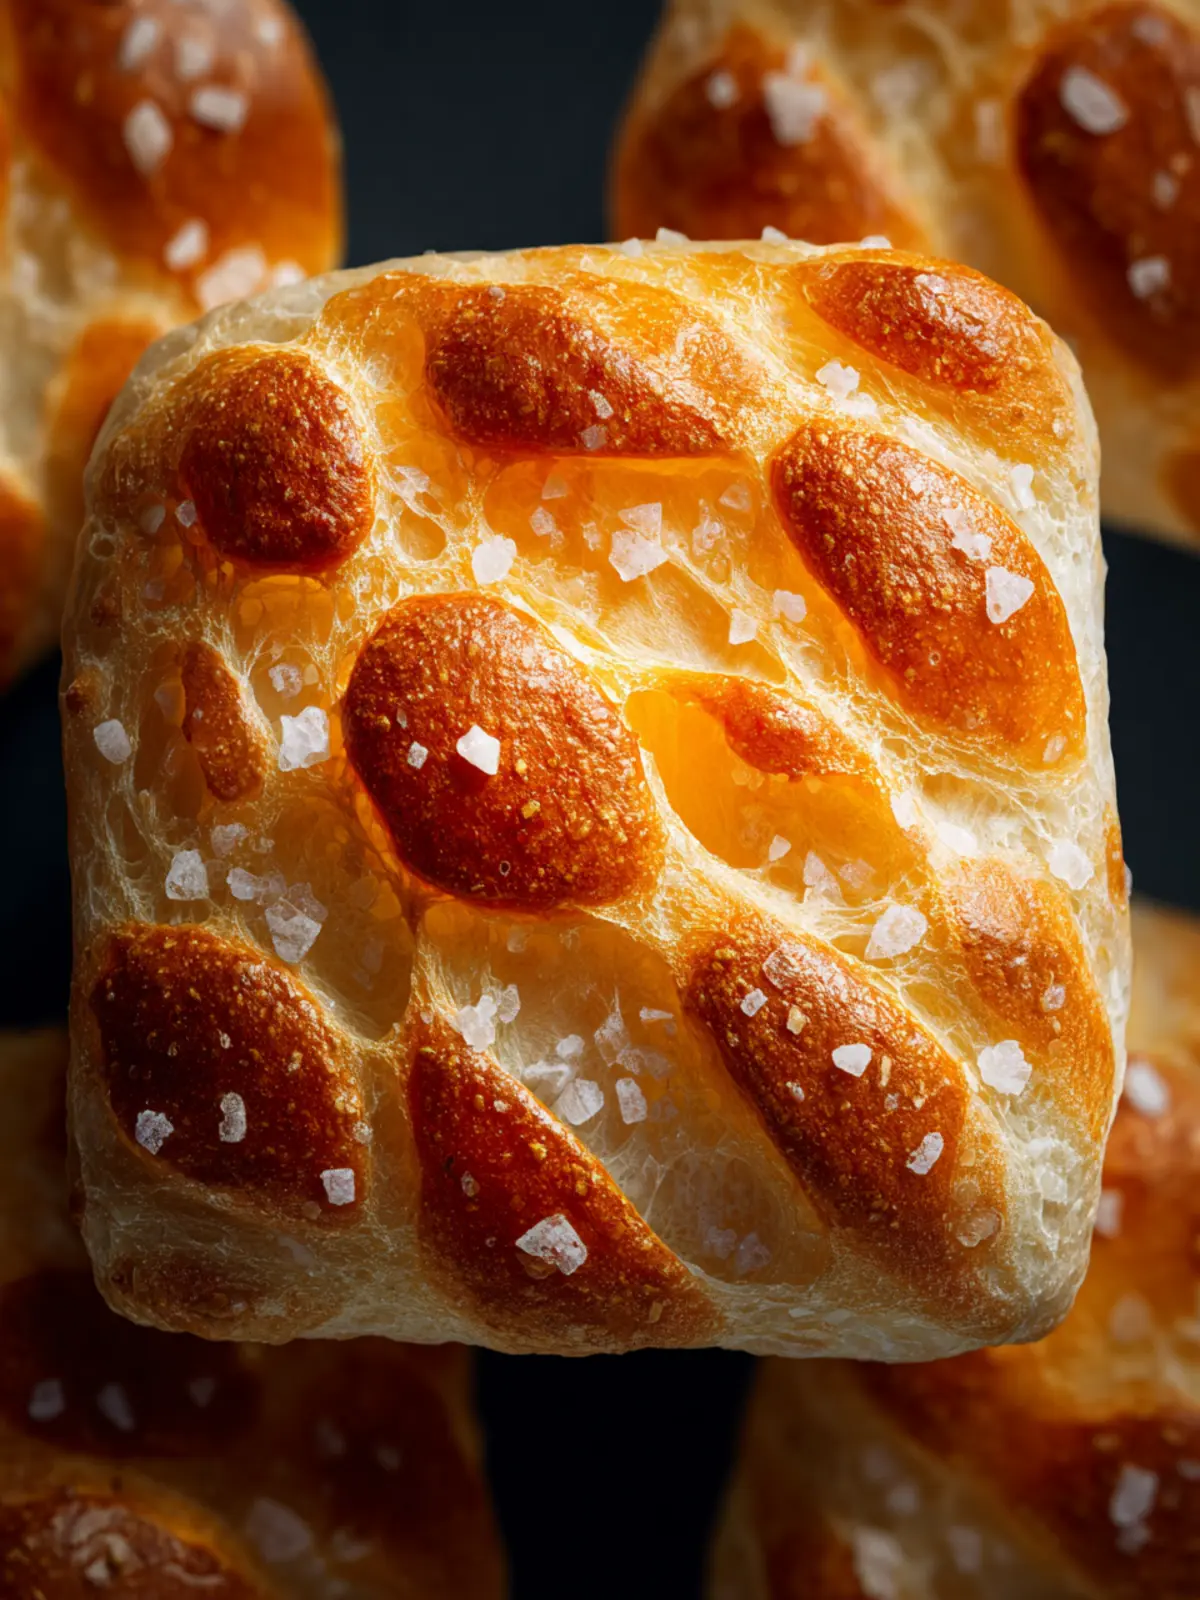
Salt Bread Shio Pan is a delightful treat that perfectly marries the simplicity of bread with a touch of indulgent flavor. The key ingredients play a significant role in achieving that tender, fluffy texture combined with the delicious saltiness that makes this bread irresistible.
-
Flour: I prefer using all-purpose flour for its versatility and the lovely rise it gives to the bread. If you need a gluten-free option, look for a reliable 1:1 gluten-free flour blend that works well for yeast recipes.
-
Salt: This is not just any salt—using a good quality sea salt enhances the flavor profile of the bread. A sprinkle on top before baking gives that signature touch of saline goodness.
-
Yeast: Active dry yeast helps the dough rise beautifully. Be sure the yeast is fresh for the best results; it’s the key to that airy texture.
-
Milk: I recommend using whole milk for a richer flavor and a softer crumb. If you’re dairy-free, unsweetened almond milk can be a great alternative.
-
Butter: Melted butter adds moisture and richness, creating that lovely, slightly decadent taste. It’s also brushed on top post-baking for that golden finish.
-
Sugar: A bit of granulated sugar not only balances the flavors but also gives the crust that beautiful golden hue as it bakes.
-
Eggs: Whole eggs contribute to the structure and moisture of the dough, ensuring a tender bite.
Embracing these ingredients will lead you to crafting a Salt Bread Shio Pan that’s not only satisfying but also a conversation starter among friends and family.
Why You’ll Love This Salt Bread Shio Pan
Once you take your first bite of Salt Bread Shio Pan, you’ll understand why it holds a special place in many hearts. This delightful bread is not just food; it’s an experience that transports you straight to a sunny café in Japan, where the aroma of freshly baked bread mingles with the calm hum of conversation.
Perfectly Comforting Flavor
- The salt in this recipe isn’t just a seasoning; it enhances the natural sweetness of the bread. It strikes the perfect balance between savory and sweet, making it an ideal companion for breakfast or an afternoon snack.
Uniquely Fluffy Texture
- One of the standouts of Salt Bread Shio Pan is its airy texture. Thanks to the inclusion of high-quality bread flour and the methodical kneading process, the bread rises beautifully, creating that light and fluffy mouthfeel everyone craves.
Versatile Enjoyment
- You can enjoy this bread on its own or with a spread of your choice. Slather it with butter, pair it with cheese, or dip it into a warm bowl of soup — the options are endless. This flexibility makes it a beloved staple for any occasion.
In essence, Salt Bread Shio Pan invites you to slow down and savor life’s simple pleasures. Whether you’re sharing it with friends or enjoying a quiet moment alone, this bread brings joy and comfort to your day.

Tips for Making Perfect Salt Bread Shio Pan
Making Salt Bread Shio Pan is more than just following a recipe; it’s about creating a delightful piece of art that you can share with friends and family. Let’s walk through some key tips to help you achieve that fluffy texture and irresistible flavor.
Choose the Right Flour
Opt for high-quality bread flour rather than all-purpose flour. The higher protein content in bread flour helps to develop gluten, giving your Shio Pan that perfect chewy texture.
Master Your Dough
Don’t rush the kneading process! It’s crucial to knead the dough thoroughly until it becomes smooth and elastic. This usually takes about 8-10 minutes. If you’re using a stand mixer, keep an eye on the dough—it should pull away from the bowl easily.
Perfectly Season Your Salt
The beauty of Salt Bread Shio Pan lies in its flavor balance. Use flaky sea salt as a topping; it adds a delightful crunch and enhances the bread’s taste. Don’t skip this step, as it elevates the overall experience.
Control the Rising Time
Letting your dough rise until it doubles in size is essential for achieving a light, airy loaf. Keep it in a warm, draft-free spot and be patient; this could take anywhere from 1 to 2 hours depending on the room temperature.
Experiment with Fillings
While the classic Shio Pan is delicious on its own, don’t hesitate to experiment with fillings! Think of melted cheese or savory spreads, which can enhance both the taste and presentation of your bread.
By keeping these tips in mind, your Salt Bread Shio Pan will surely impress anyone lucky enough to taste it. Happy baking!
Time Details for Salt Bread Shio Pan
Making Salt Bread Shio Pan is a delightful journey, filled with anticipation as you transform simple ingredients into a fluffy, savory treat. Understanding the time commitment can make your baking experience smoother and more enjoyable.
Preparation Time
You’ll want to set aside about 20 minutes for the initial preparation of your dough. This time includes mixing and kneading, which is essential to achieve that perfect texture.
Rising Time
Patience is key during the rising phase, which takes approximately 1 hour. This allows the yeast to work its magic, creating that wonderful puffiness we all love.
Baking Time
Once your dough has risen beautifully, the baking process will only take about 15-20 minutes. The result? A golden-brown Shio Pan that’s aromatic and ready to impress.
Total Time
In total, you’re looking at around 1 hour and 55 minutes from start to finish. This includes preparation, rising, and baking time, giving you plenty of opportunities to enjoy a perfect Salt Bread Shio Pan!
Nutritional Information for Salt Bread Shio Pan
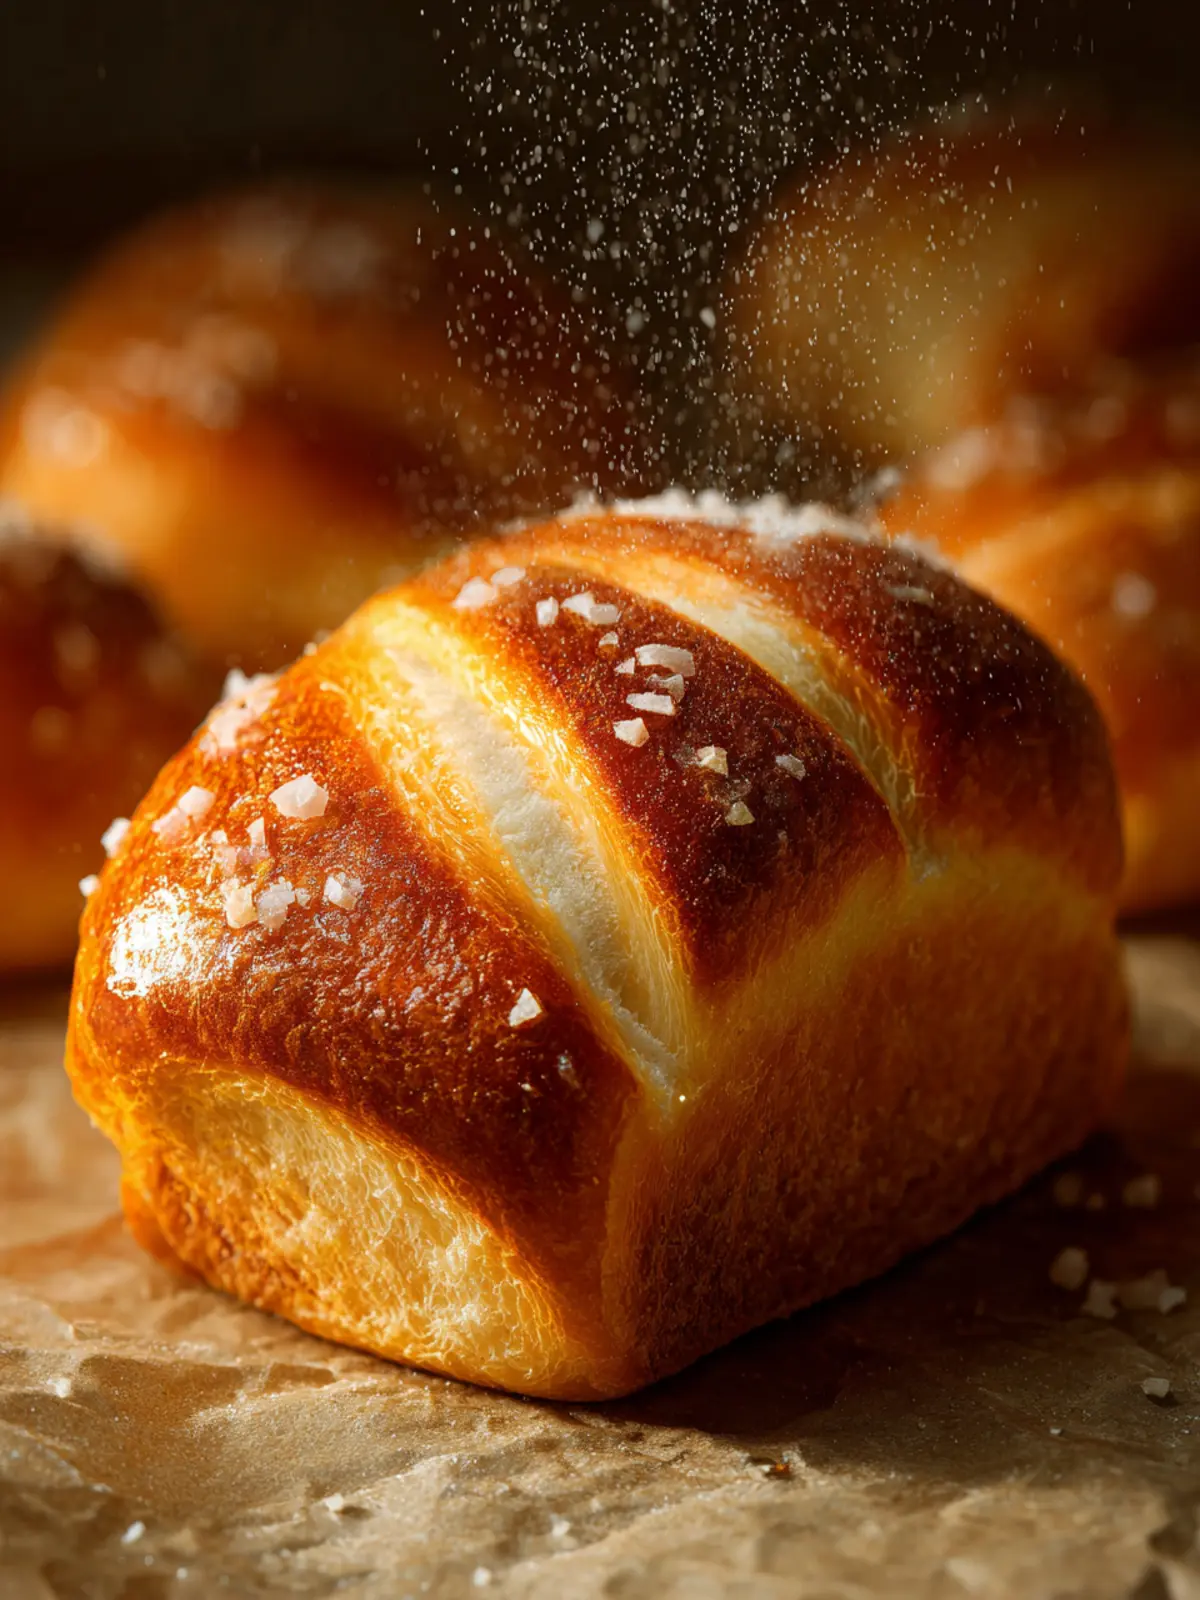
Delving into the nutritional details of Salt Bread Shio Pan, we can appreciate not only its delightful flavor but also how it fits into a balanced diet.
Calories
Each serving of Salt Bread Shio Pan contains approximately 250 calories. This makes it an enjoyable treat that can be easily incorporated into a lunch or afternoon snack without sacrificing your dietary goals.
Protein
In terms of protein content, you’ll find about 6 grams per serving. This is a decent amount for a bread product and can help keep you satiated, making it a nice option for a quick meal or a filling snack on the go.
Sodium
Now, if you’re watching your sodium intake, keep in mind that Salt Bread Shio Pan has around 480 milligrams of sodium per serving. While this enhances its savory flavor, moderation is key, especially if you’re monitoring your salt consumption.
Whether you’re savoring it fresh out of the oven or pairing it with your favorite fillings, knowing the nutritional breakdown can help make your dining experience even more enjoyable!
FAQs about Salt Bread Shio Pan
When diving into the delightful world of Salt Bread Shio Pan, it’s not just about baking; it’s about creating a warm, comforting experience that fills your home with delightful aromas. As you embark on this culinary journey, you might encounter some questions. Let’s address a few common inquiries to make your baking adventure even smoother!
Can I use all-purpose flour instead?
Absolutely! While many recipes for Salt Bread Shio Pan call for bread flour due to its higher protein content which gives the bread that delightful chewiness, all-purpose flour can also work in a pinch. Just keep in mind that the texture may be slightly softer. For those looking for a little more structure, consider mixing all-purpose flour with a bit of vital wheat gluten to mimic bread flour qualities.
How can I store leftover salt bread?
If you find that you have some delicious Salt Bread Shio Pan left over, don’t worry! To keep it fresh, wrap it in plastic wrap or aluminum foil and store it at room temperature for up to two days. For longer storage, freeze the bread by placing it in a freezer-safe bag. When you’re ready to enjoy it again, simply thaw it at room temperature and reheat in the oven for that freshly baked taste!
What variations can I make to the recipe?
Experimentation is part of the joy of baking! You can infuse your Salt Bread Shio Pan with flavors by incorporating herbs like rosemary or garlic. For a sweet twist, consider adding chocolate chips or fluffy cream cheese. You can also try different toppings, from sesame seeds to coarse sea salt, to elevate both texture and flavor. The possibilities are endless!
Conclusion on Salt Bread Shio Pan
In the world of baked delights, Salt Bread Shio Pan stands out with its delicate balance of flavors and textures. Imagine biting into a soft, pillowy bread with a hint of saltiness that perfectly complements its subtle sweetness. This versatile bread is not just a treat for the taste buds; it also offers a canvas for endless creativity. Whether enjoyed on its own, filled with your favorite ingredients, or paired with a warm cup of tea, Salt Bread Shio Pan brings comfort and joy to your table. Embrace the warmth of home-baking, and share this delightful experience with friends and family for a true gastronomic adventure.
Print
Salt Bread
- Total Time: 2 hours 10 minutes
- Yield: 6 servings 1x
- Diet: Vegetarian
Description
A delicious homemade salt bread with a crispy crust and soft inside.
Ingredients
Scale
- 170 g bread flour (12 % protein)
- 55 g cake flour (10% protein)
- 3 g instant dry yeast
- 14 g sugar
- 4 g salt
- 16 g unsalted butter or refined coconut oil (room temperature)
- 14 g skim milk powder
- 158–166 ml water
- 138 g bread flour (12 % protein)
- 94 g cake flour (10% protein)
- 4 g salt
- 3 g instant dry yeast
- 16 g sugar
- 12 g skim milk powder
- 16 g unsalted butter or refined coconut oil (room temperature)
- 28 g whole beaten egg
- 145 ml water
- 6 butter blocks (10–14 grams each)
- guerande salt, pretzel salt, rock salt or fancy salt (for topping)
Instructions
- Add bread flour, cake flour, and water. Mix on low (speed 2-3) for 3 minutes until a rough dough forms. Cover and rest 15 minutes (autolyse).
- Add milk powder, sugar, salt, yeast, and egg (if making egg-based dough). Mix on low for 5 minutes.
- Add butter or coconut oil. Mix on low for 2 minutes, then medium (speed 3-4) for 2-3 minutes until smooth. Cover and rest 15-25 minutes.
- Mix again on medium (speed 4) for 2-3 minutes until dough no longer sticks to bowl sides. Shape into a ball and place in a bowl.
- Cup your hands around the dough and gently pull it toward you to create surface tension, rotating as you go, until the dough forms a smooth, tight ball. Place the dough into a bowl and cover.
- Let dough rise for 80-100 minutes at 28-30°C (82-86°F), or until doubled in size. Ideal dough temperature is approximately 25°C (77°F).
- Use 10-14 g butter per piece of dough. Cut butter into about 2 cm x 4 cm for round salt bread and 1 cm x 6 cm for long or crescent shaped salt bread. Keep in freezer after preparing.
- Lightly dust the surface of the dough. Use a flexible bench scraper to remove the dough. Punch dough down and transfer to work surface. Lightly dust the dough again.
- Like cutting a pizza, divide into 6 triangular pieces (approximately 70 g each). Cut off small bits to make them even and place the scraps in the middle of the triangle.
- For each piece, pinch opposite ends together to form a thin icicle shape. Roll gently to elongate slightly to about 15 cm if needed. Place seam side down. Cover and rest 15 minutes.
- Take the first piece rough side up. If the dough is sticky, very lightly dust with flour. Flatten it gently with the base of your hands. Roll the dough into a long icicle shape, rolling firmly to remove built up gas. Press out any air bubbles along the edges with the base of your palm.
- Start at about 1/3 of the way down, holding the base and rolling upwards. Then from the same spot, lift the tail and roll downwards until desired length.
- Place a butter block at the base of the dough and fold the top edge over it, rolling down. The roll should be snug but not too tight or loose. Every so often, lift the roll slightly and pull back gently to create light tension.
- Press the very end tip into the dough gently. Place dough onto a dark coloured baking tray, tail side down. Keep covered and repeat with remaining dough.
- Let dough rise for 55-65 minutes at 30-33°C (86-91°F) or until doubled in size and looks airy and puffy. To test, poke gently. It should spring back slowly, leaving a faint indent. When moving the pan it should jiggle.
- Preheat the oven 20-30 minutes before you expect the proof to finish to the highest temperature (232°C/450°F).
- Remove the cover and lightly spray with water and sprinkle with salt from one edge to the other.
- Spray dough 10 times right before baking. Avoid over spraying as it can make the crust tough.
- Once salt bread is in the oven, quickly spray 15 times into the walls of the oven and close the door immediately. Bake for 3 minutes.
- For convection oven: Reduce heat to 190-200°C (374-392°F) and bake for 12 minutes or until deeply golden on both sides. For conventional oven: Reduce heat to 200-210°C (392-400°F) and bake for 12 minutes.
- Rotate the baking pan during the last 5-6 minutes of baking for even browning. Keep an eye on them, especially the last 5 minutes and adjust oven temperature as needed.
- Remove from oven and brush the leaked butter on tops of the salt bread. Serve fresh and enjoy!
Notes
- This recipe requires precision for best results, so weigh your ingredients accurately.
- Experiment with different types of salts for topping to enhance flavor.
- Ensure to maintain the correct temperature during fermentation to achieve the best texture.
- Prep Time: 20 minutes
- Cook Time: 12 minutes
- Category: Bread
- Method: Baking
- Cuisine: American
Nutrition
- Serving Size: 1 piece
- Calories: 150
- Sugar: 2 g
- Sodium: 300 mg
- Fat: 6 g
- Saturated Fat: 3 g
- Unsaturated Fat: 2 g
- Trans Fat: 0 g
- Carbohydrates: 20 g
- Fiber: 1 g
- Protein: 5 g
- Cholesterol: 15 mg